Integrating Nicereply
DataGrail’s Nicereply Integration provides data mapping and privacy request functionality allowing your business to do the following:
- Identify Data Subject PII stored in Nicereply for automatic fulfillment of privacy requests.
- Delete Data Subject PII stored in Nicereply for automatic fulfillment of privacy requests.
**Note: if you do not have admin rights in Nicereply you will not be able to complete this integration. Please contact your Nicereply Admin for assistance.
Step 1: Create a Nicereply Client ID and Client Secret
- Log in to your Nicereply account.
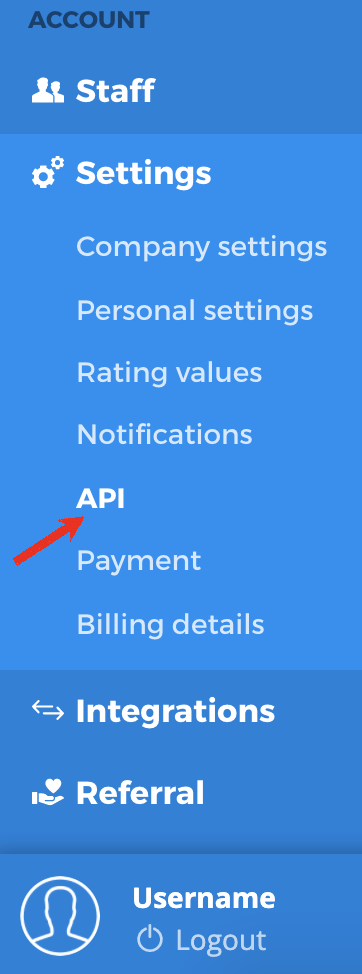
- Click Settings -> API in the left menu
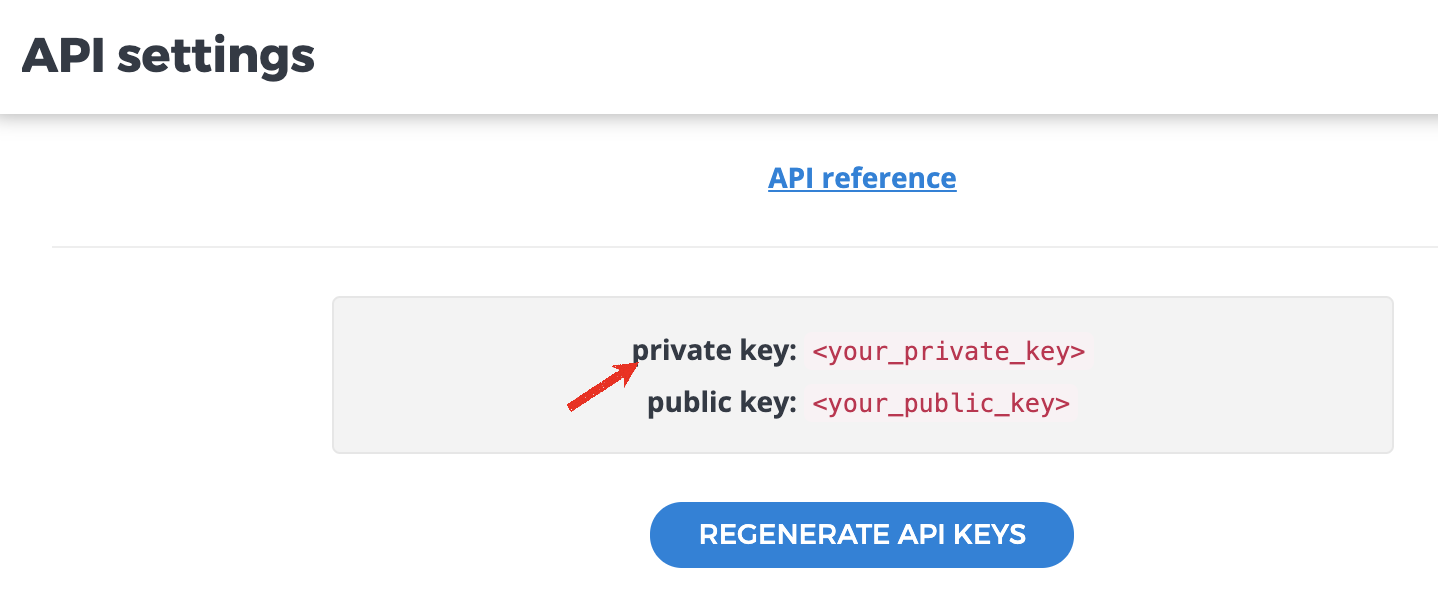
- Click the REGENERATE API KEYS button if keys aren’t shown. You need a private key only. Copy it and store in a safe place.
Step 2: Connect Nicereply
- Return to DataGrail (window should be open in a separate tab).
- Click Connect within the Integration page for Nicereply.

- Enter the Private Key obtained from Step 1.
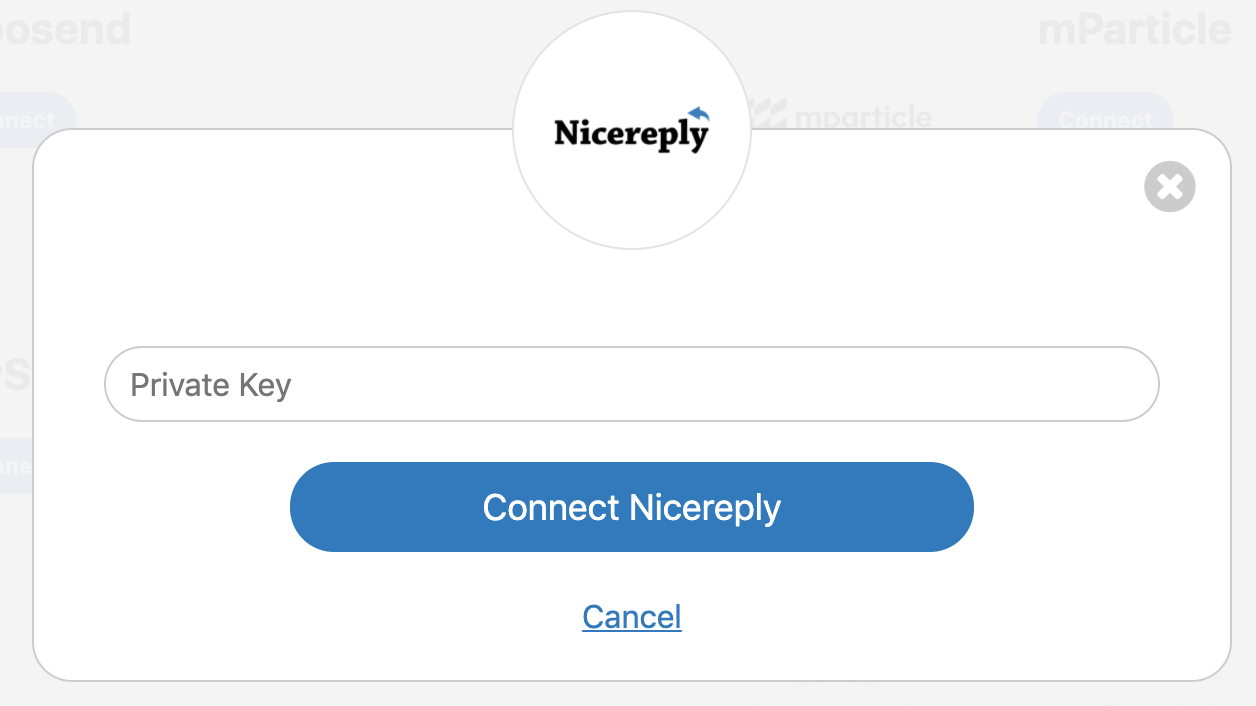
- Click Connect Nicereply.

- If there are additional Nicereply accounts to integrate follow these instructions:
-
Click Edit Connection within the Integration page for Nicereply.
-
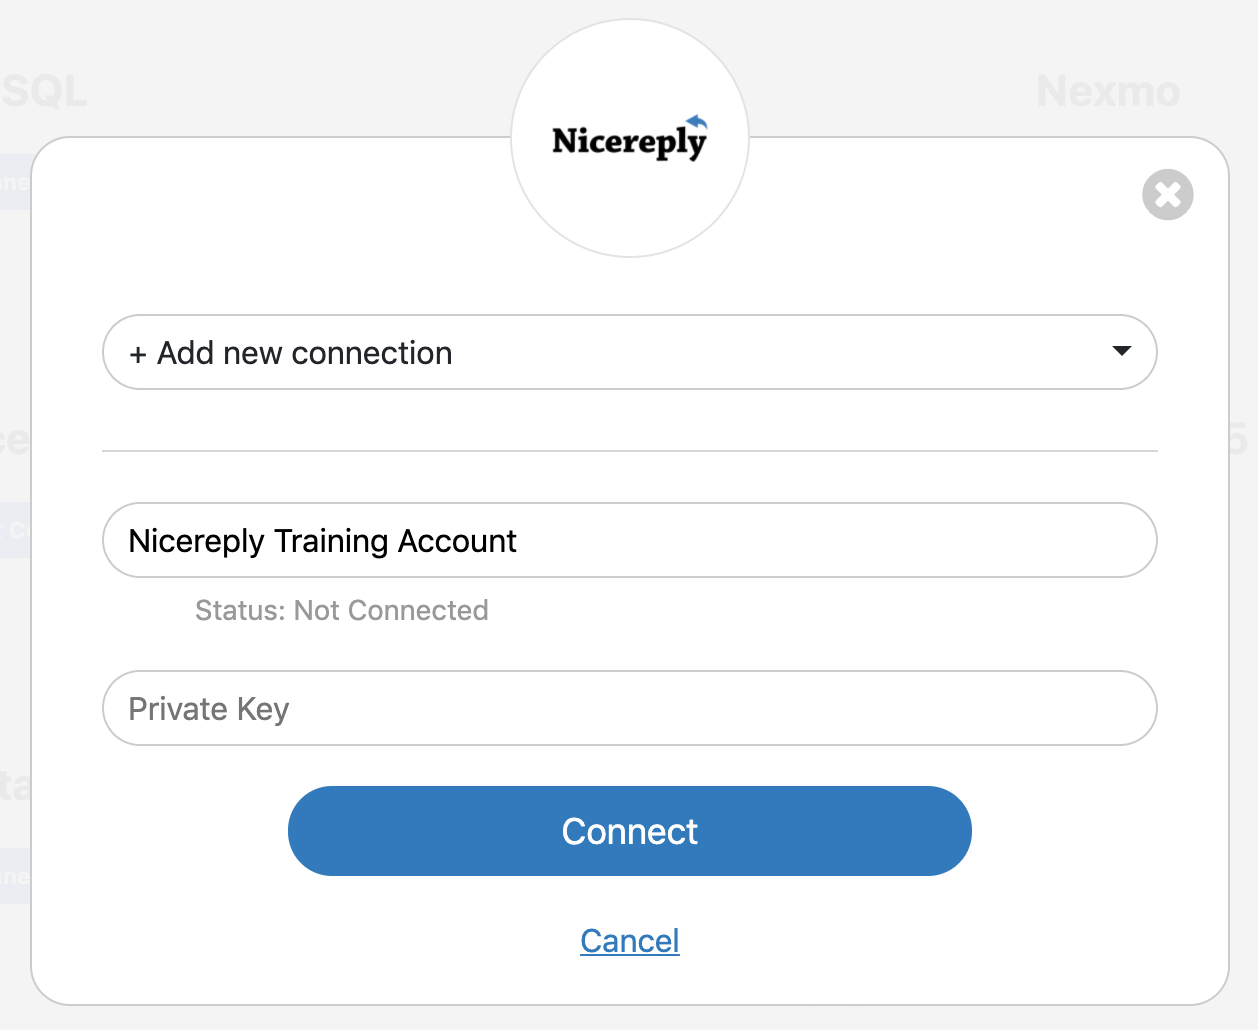
From the drop-down, select +Add New Connection.
-
Under Connection Name, enter a new name to identify this separate account [ex: Nicereply Training Account].
-
Repeat Step 1 to copy Private Key for this new account.
-
Enter the Private Key.
-
Click Connect.
-
- In DataGrail, if you have any other integrations not connected (no green check mark) please click Connect to complete the configuration and reference the Help Docs link for instructions
Disclaimer: The information contained in this message does not constitute as legal advice. We would advise seeking professional counsel before acting on or interpreting any material.