Single Sign-On
As an additional security measure, Direct Contact Integrations can be configured to require Single Sign-on (SSO) to view the form.
Configuring Direct Contact SSO
If Internal System Owner is selected in the Direct Contact Settings, the SSO Login field will appear.
Once checked, you must select the Direct Contact Email from the list of DataGrail users. A user must have a Super Admin or Connections Manager role to be able to respond to Direct Contact emails behind SSO.
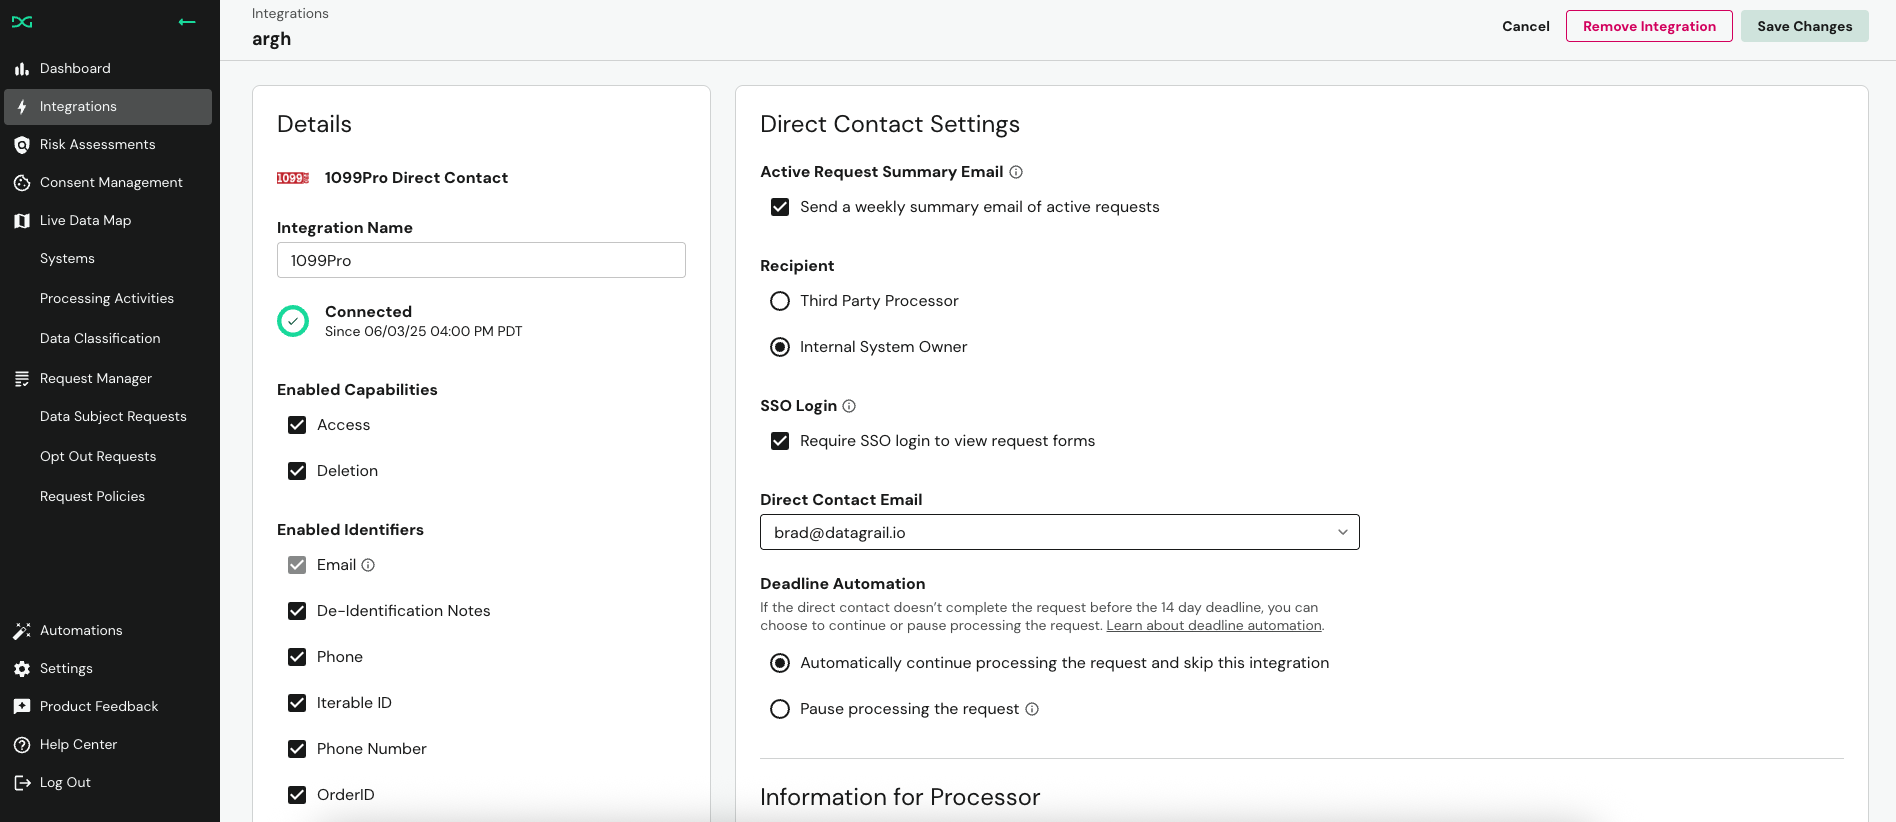
Assigned users will leverage their existing login credentials to the DataGrail platform to now access the Direct Contact forms.
A Super Admin user can always access Direct Contact Forms behind SSO, even if they are not assigned as the processor.
Permissions Groups
In addition to requiring Single Sign-On for Direct Contact Forms, processors can be required to have a particular permission group via the Identity Provider (IdP), e.g. Okta.
To configure this feature in DataGrail, ensure the integration is already configured for Direct Contact SSO. Once complete, enter the name of your Direct Contact SSO Group in the Direct Contact Settings.
With the configuration set in DataGrail, you must configure the corresponding groups in your IdP and pass them to DataGrail. An example configuration for Okta is provided below.
This feature is not available by default. Contact your Account Manager or support@datagrail.io for more information.
Okta Configuration
An example group configuration in Okta is described below:
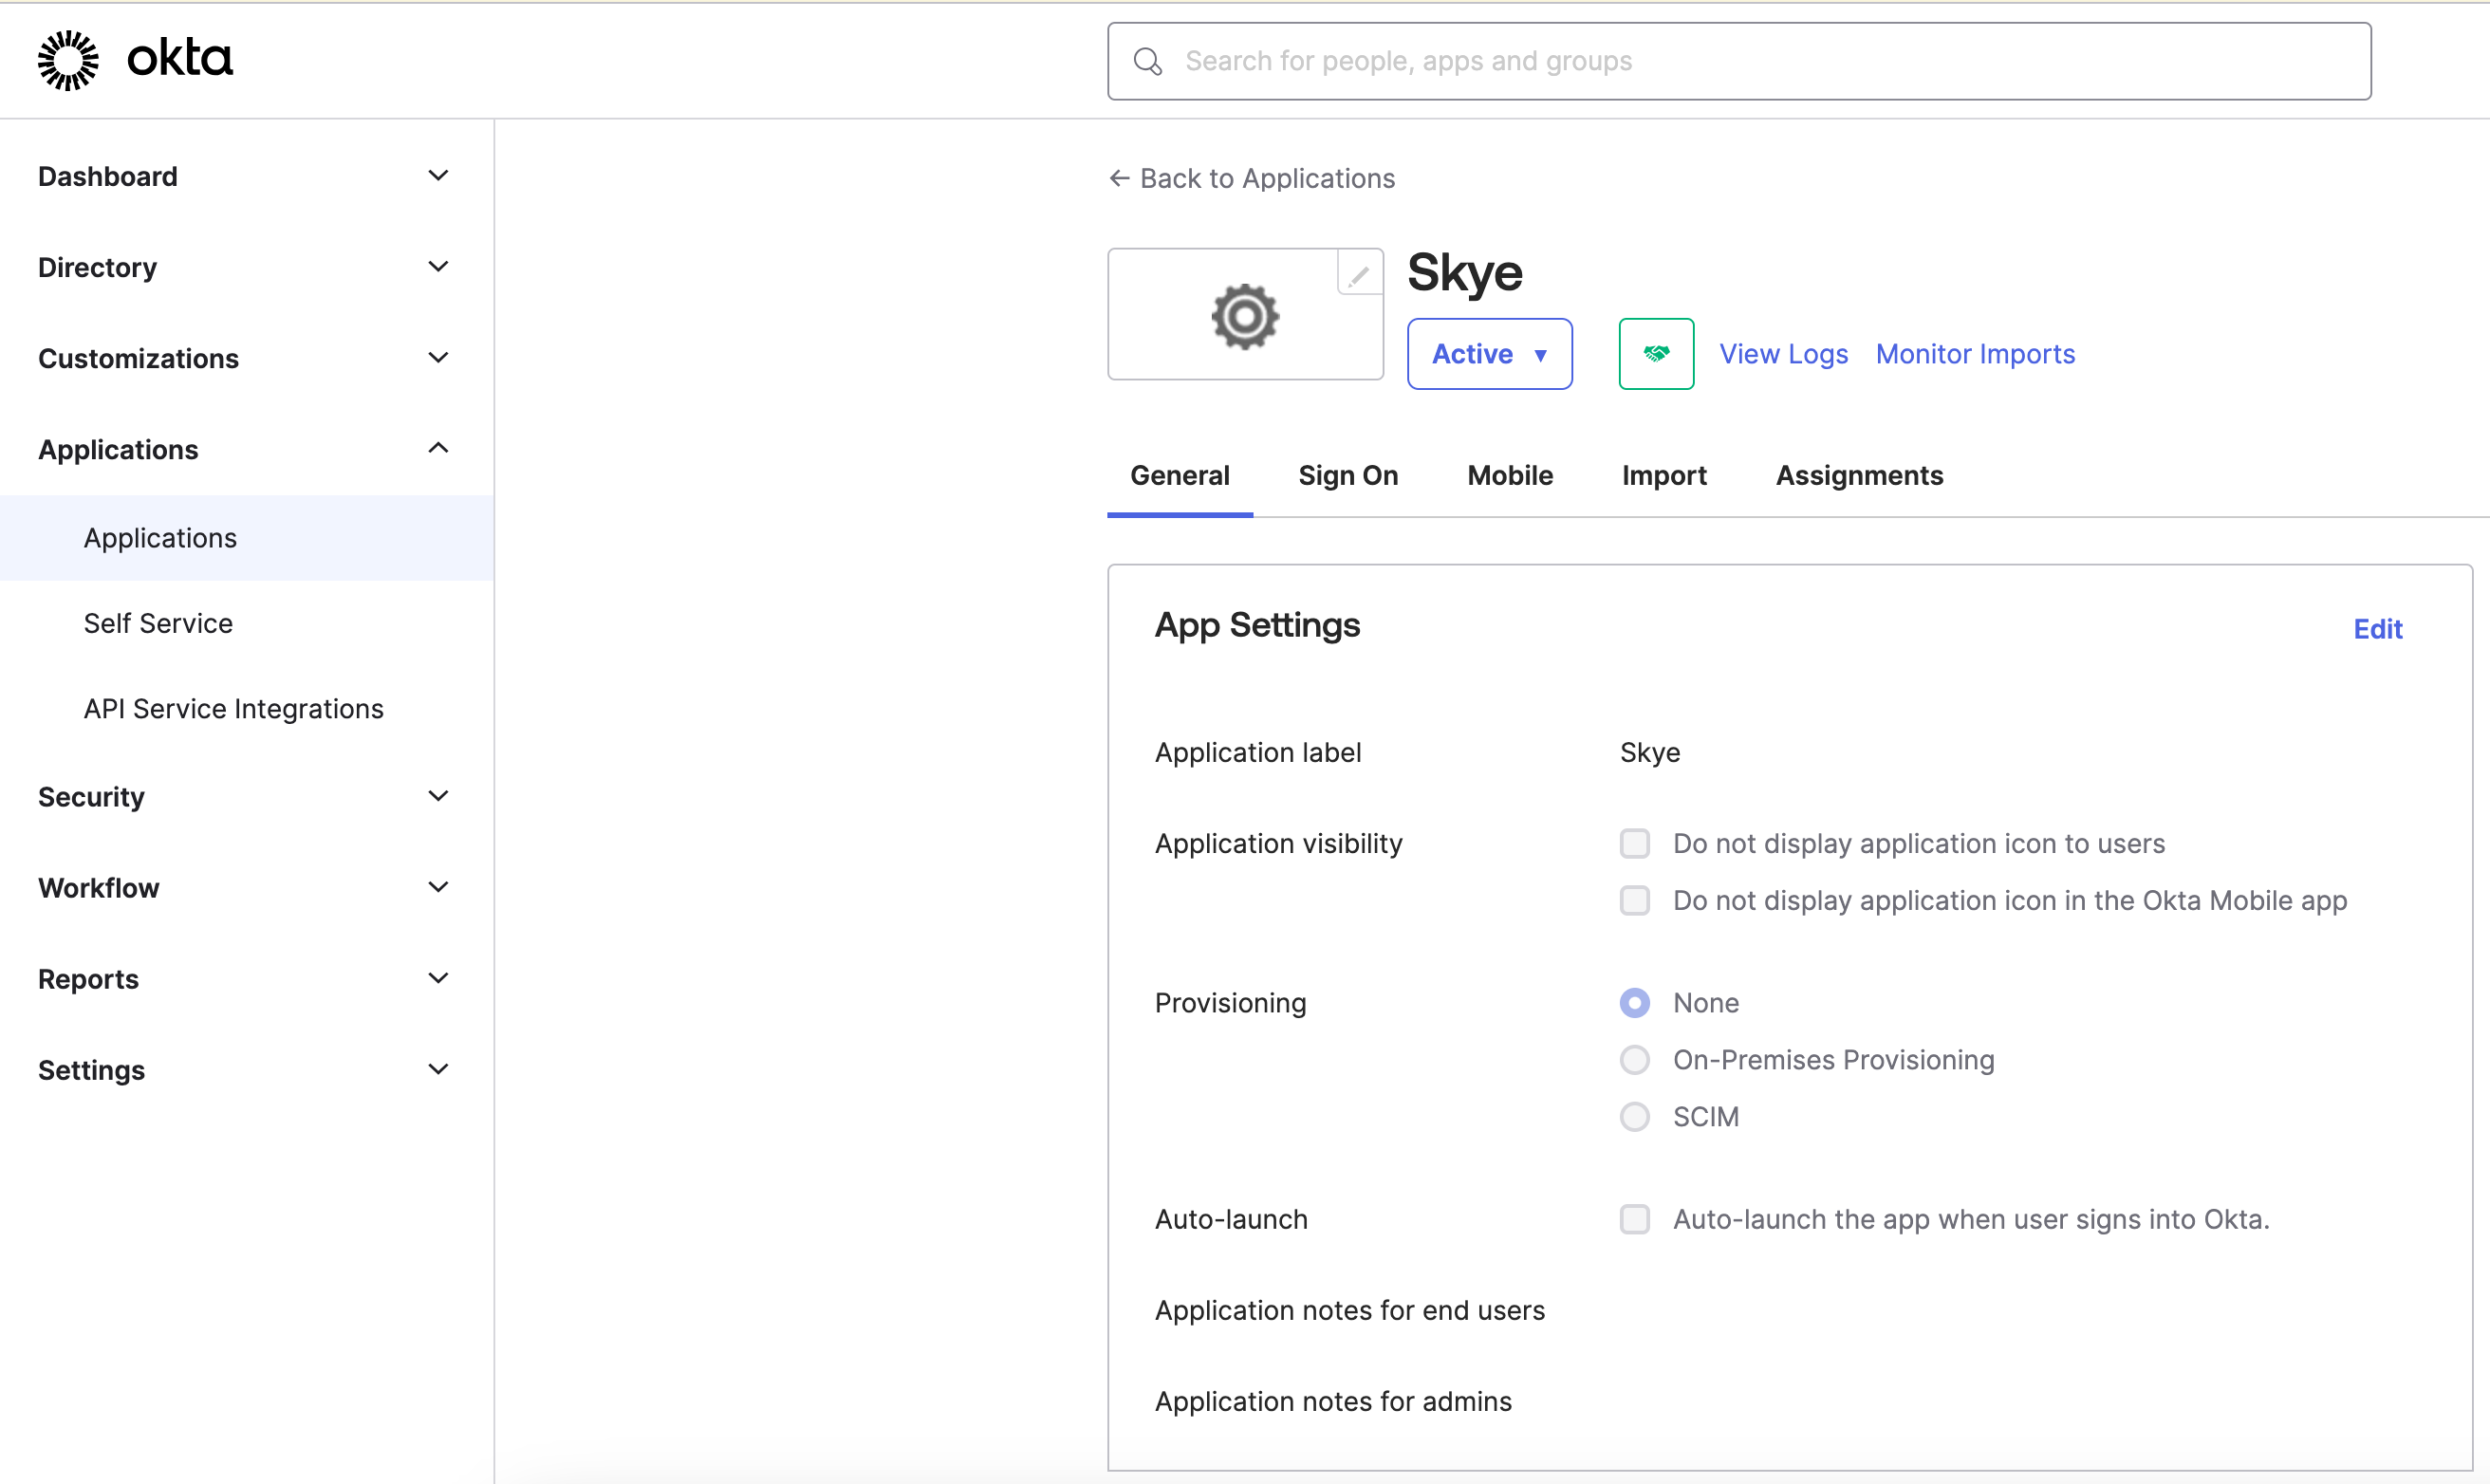
- Select Applications > Applications in the Okta navigation bar on the left hand side of the screen. Select the DataGrail application.
- Select General from the tabs at the top of the application.
-
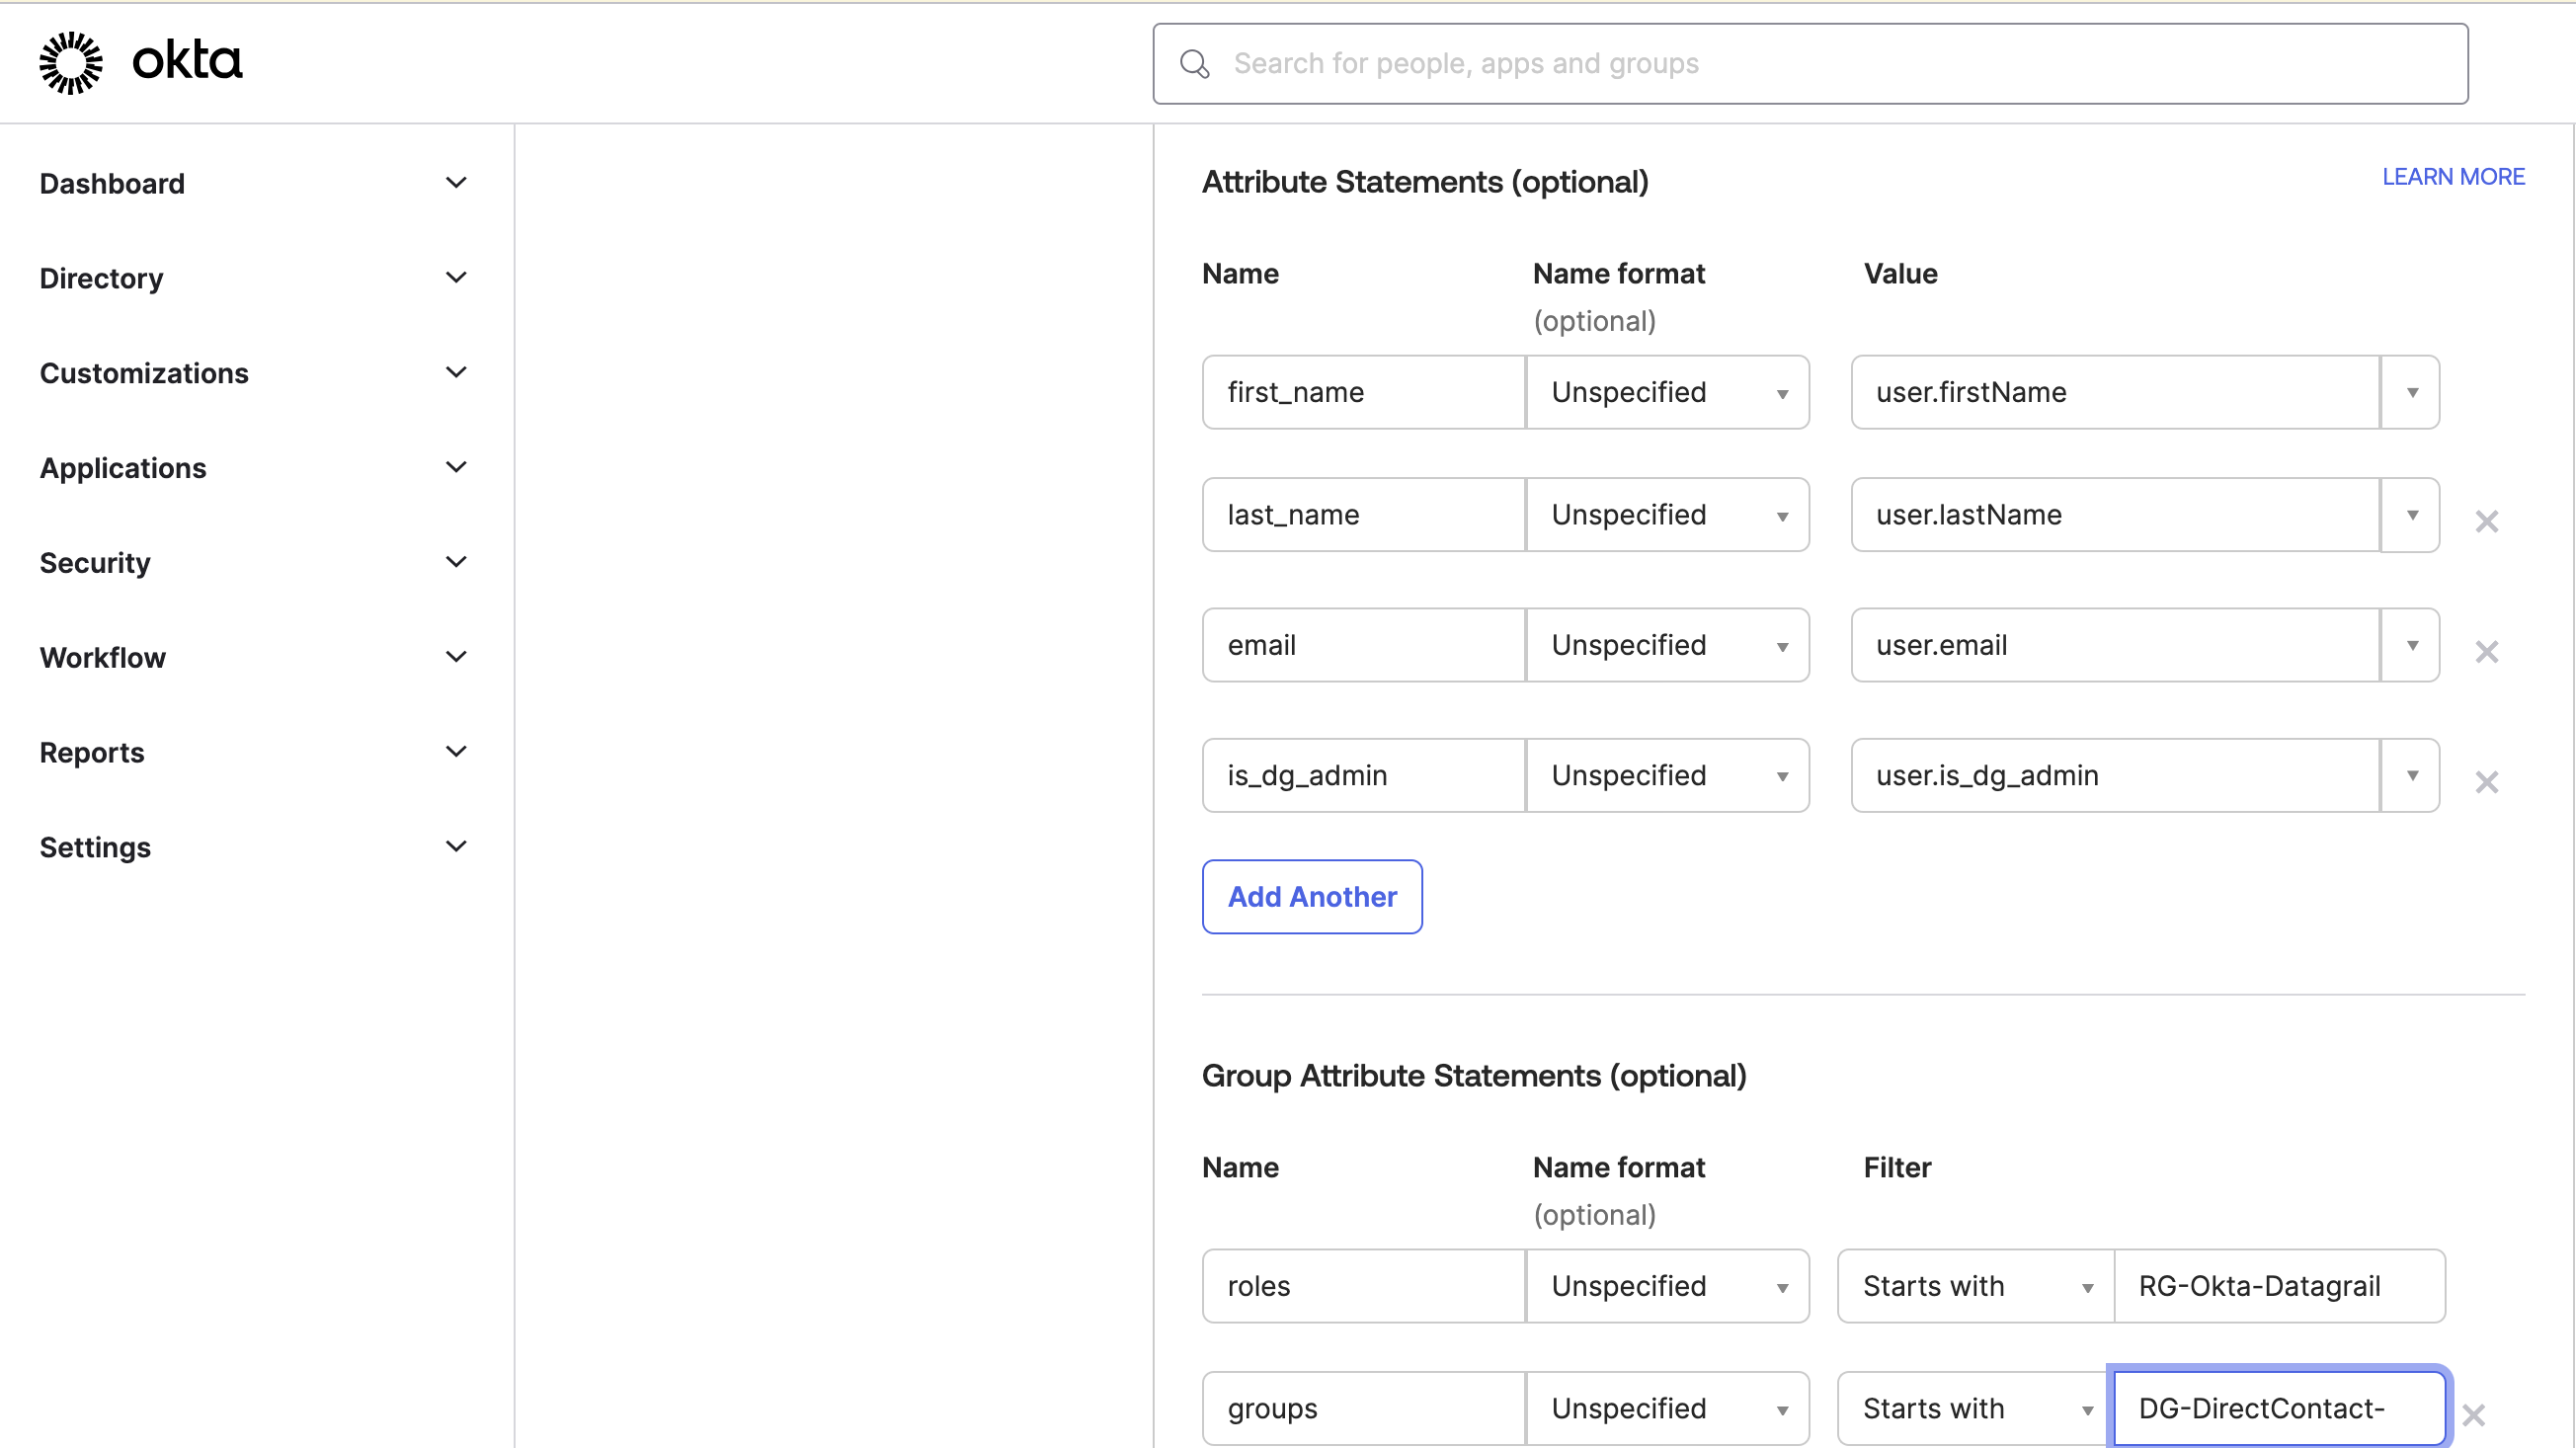
Select the Edit link in the upper-right-hand corner of the SAML Settings subsection.
-
Click Next in the lower-right-hand corner
-
Click Add Another to the Group Attribute Statements.
-
Enter groups as the Name, and select a proper filter. In this case, we will include any groups that start with the string
DG-DirectContact-. However, you can use any group name that you would like.
- Save the Application.
- Configure groups and assign users to them.
Example 1
- Groups
DG-DirectContact-SalesforceUploaders,DG-DirectContact-MarketoUploaders,DG-DirectContact-InternalDBUploadersexist - The user belongs to the
DG-DirectContact-SalesforceUploadersgroup. - The user will be provisioned the
DG-DirectContact-SalesforceUploadersPermission Group.
Example 2
- Groups
DG-DirectContact-SalesforceUploaders,DG-DirectContact-MarketoUploaders,DG-DirectContact-InternalDBUploadersexist. - The user belongs to the
DG-DirectContact-SalesforceUploadersandDG-DirectContact-InternalDBUploadersgroups. - The user will be provisioned the
DG-DirectContact-SalesforceUploadersandDG-DirectContact-InternalDBUploadersPermission Groups.
Disclaimer: The information contained in this message does not constitute as legal advice. We would advise seeking professional counsel before acting on or interpreting any material.