Configuring Generic SAML For SSO
DataGrail supports authentication with any SAML 2.0-compliant identity provider. If your provider isn't listed in our supported providers, use this guide to configure a custom SAML integration. By default, user roles are managed within DataGrail. To assign roles automatically from your identity provider instead, see Group Provisioning.
Persons Needed to Complete Configuration: IT Person from your organization
Service Provider Details
Enter the following DataGrail Service Provider (SP) values in your identity provider's SAML application configuration.
| Configuration Item | Value |
|---|---|
| Entity ID (Audience) | https://<subdomain>.datagrail.io/saml/metadata |
| ACS URL (Recipient) | https://<subdomain>.datagrail.io/saml/auth |
| Login URL | https://<subdomain>.datagrail.io/saml/login |
| NameID Format | urn:oasis:names:tc:SAML:1.1:nameid-format:emailAddress |
| Signature Algorithm | SHA-256 |
| Sign Response / Sign Assertion | Enabled |
If you are unclear on what your subdomain would be, please confirm with your Account Manager or reach out to support@datagrail.io.
Assertion Attributes
Your identity provider sends the following attributes in the SAML assertion. Only email is required; the name attributes are recommended so DataGrail can populate new accounts.
| Attribute Name | Required | Description |
|---|---|---|
email | Yes | The user's email address. Must match a verified domain on your DataGrail account. |
first_name | Recommended | The user's first name, used when creating their DataGrail account. |
last_name | Recommended | The user's last name, used when creating their DataGrail account. |
DataGrail identifies users by the email attribute in the SAML assertion. Login will fail if this attribute is missing or blank.
Configuring Your Identity Provider
The exact steps vary by provider, but generally you need to:
-
Create a SAML 2.0 application in your identity provider's admin console.
-
Enter the DataGrail Service Provider details from the table above (Entity ID, ACS URL, Login URL, NameID format, and signature algorithm).
-
Configure the attribute mappings so the required
emailattribute - and, recommended, thefirst_nameandlast_nameattributes - are included in the SAML assertion. -
Sign the SAML response and assertion using your identity provider's signing certificate.
-
Assign the application to the users or groups who should have access to DataGrail.
-
Export your identity provider's metadata as either a metadata URL or an XML file - you'll need this to complete setup in DataGrail.
Completing Setup In DataGrail
Once your identity provider is configured, provide its metadata to DataGrail to finish setup.
-
Return to the DataGrail SSO setup page.
-
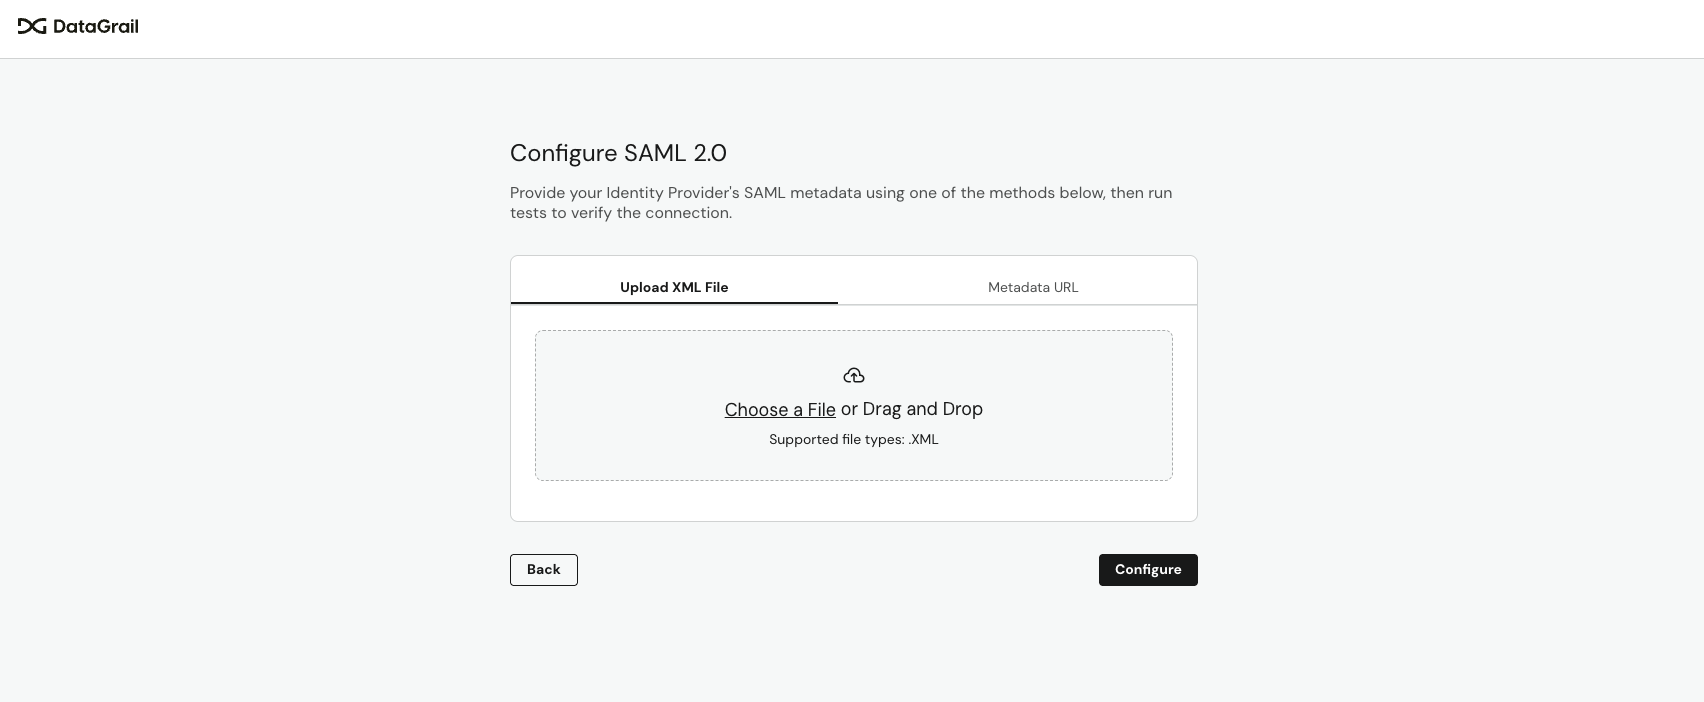
Provide your identity provider's metadata using one of the following methods:
- Metadata URL - Select the Metadata URL tab and paste the HTTPS URL where your provider hosts its metadata.
- Upload XML - Select the Upload XML tab and upload your provider's metadata XML file.
-
Select Configure to validate the metadata and test the connection to your identity provider.
For more information on adding users and managing roles, see Inviting New Users.
Group Provisioning
Group Provisioning is best for advanced users who want to provision DataGrail roles automatically based on group assignments within their identity provider. You cannot manage user roles within DataGrail using this configuration.
Persons Needed to Complete Configuration: IT Person from your organization
Determining Group Mappings
Before configuring your identity provider, decide how your groups should map to DataGrail roles.
- Review DataGrail Roles and Permissions.
- Determine what DataGrail roles you want to map to your identity provider's groups. You can have multiple groups map to the same DataGrail role.
- Once you've established your mappings, send them to support@datagrail.io to be configured.
Configuring Attribute Statements
Once DataGrail support confirms your mappings have been set, configure your identity provider to send group membership in the SAML assertion.
- In your identity provider, create or identify a group for each mapping you established with support.
- Assign your users to the appropriate groups.
- Locate the SAML application you configured earlier and add a new attribute statement (sometimes called a group attribute statement or claim) named
roles. - Configure the attribute's value to output the group name(s) for the authenticated user. Most providers let you filter which groups are included, so only the groups you mapped with support are sent. If a user belongs to more than one mapped group, confirm your provider sends
rolesas a multi-valued attribute. - Save your changes to the attribute statement.
The exact menu names and steps for adding group attribute statements vary by provider. For detailed, click-by-click examples, see the Okta or Microsoft Entra ID guides - the same concepts apply to any SAML provider.
Troubleshooting
If you encounter issues with your SAML integration, review the common problems below. If you need additional assistance, contact support@datagrail.io.
Metadata validation fails
- Confirm the metadata URL is publicly accessible over HTTPS, or that the uploaded XML file is valid and complete
- Verify the Entity ID, ACS URL, and Login URL in your identity provider exactly match the values in the Service Provider Details table
"User not found" or domain mismatch error
- The user must first be invited to DataGrail - see Inviting New Users
- Verify the
emailattribute in the SAML assertion matches a domain verified on your DataGrail account
Signature validation error
- Confirm your identity provider is signing the SAML response and assertion
- Verify the signing certificate in your exported metadata is current and hasn't expired
- Confirm the signature algorithm is set to
SHA-256
Redirect or ACS URL mismatch
- Ensure the ACS URL in your provider matches exactly:
https://<subdomain>.datagrail.io/saml/auth - Check for trailing slashes or protocol mismatches (http vs https)
Disclaimer: The information contained in this message does not constitute as legal advice. We would advise seeking professional counsel before acting on or interpreting any material.