SSO/SAML Setup: Microsoft Entra ID
Note: DataGrail only supports connections with SAML v2.0.
Create Entra ID App to log in to DataGrail
-
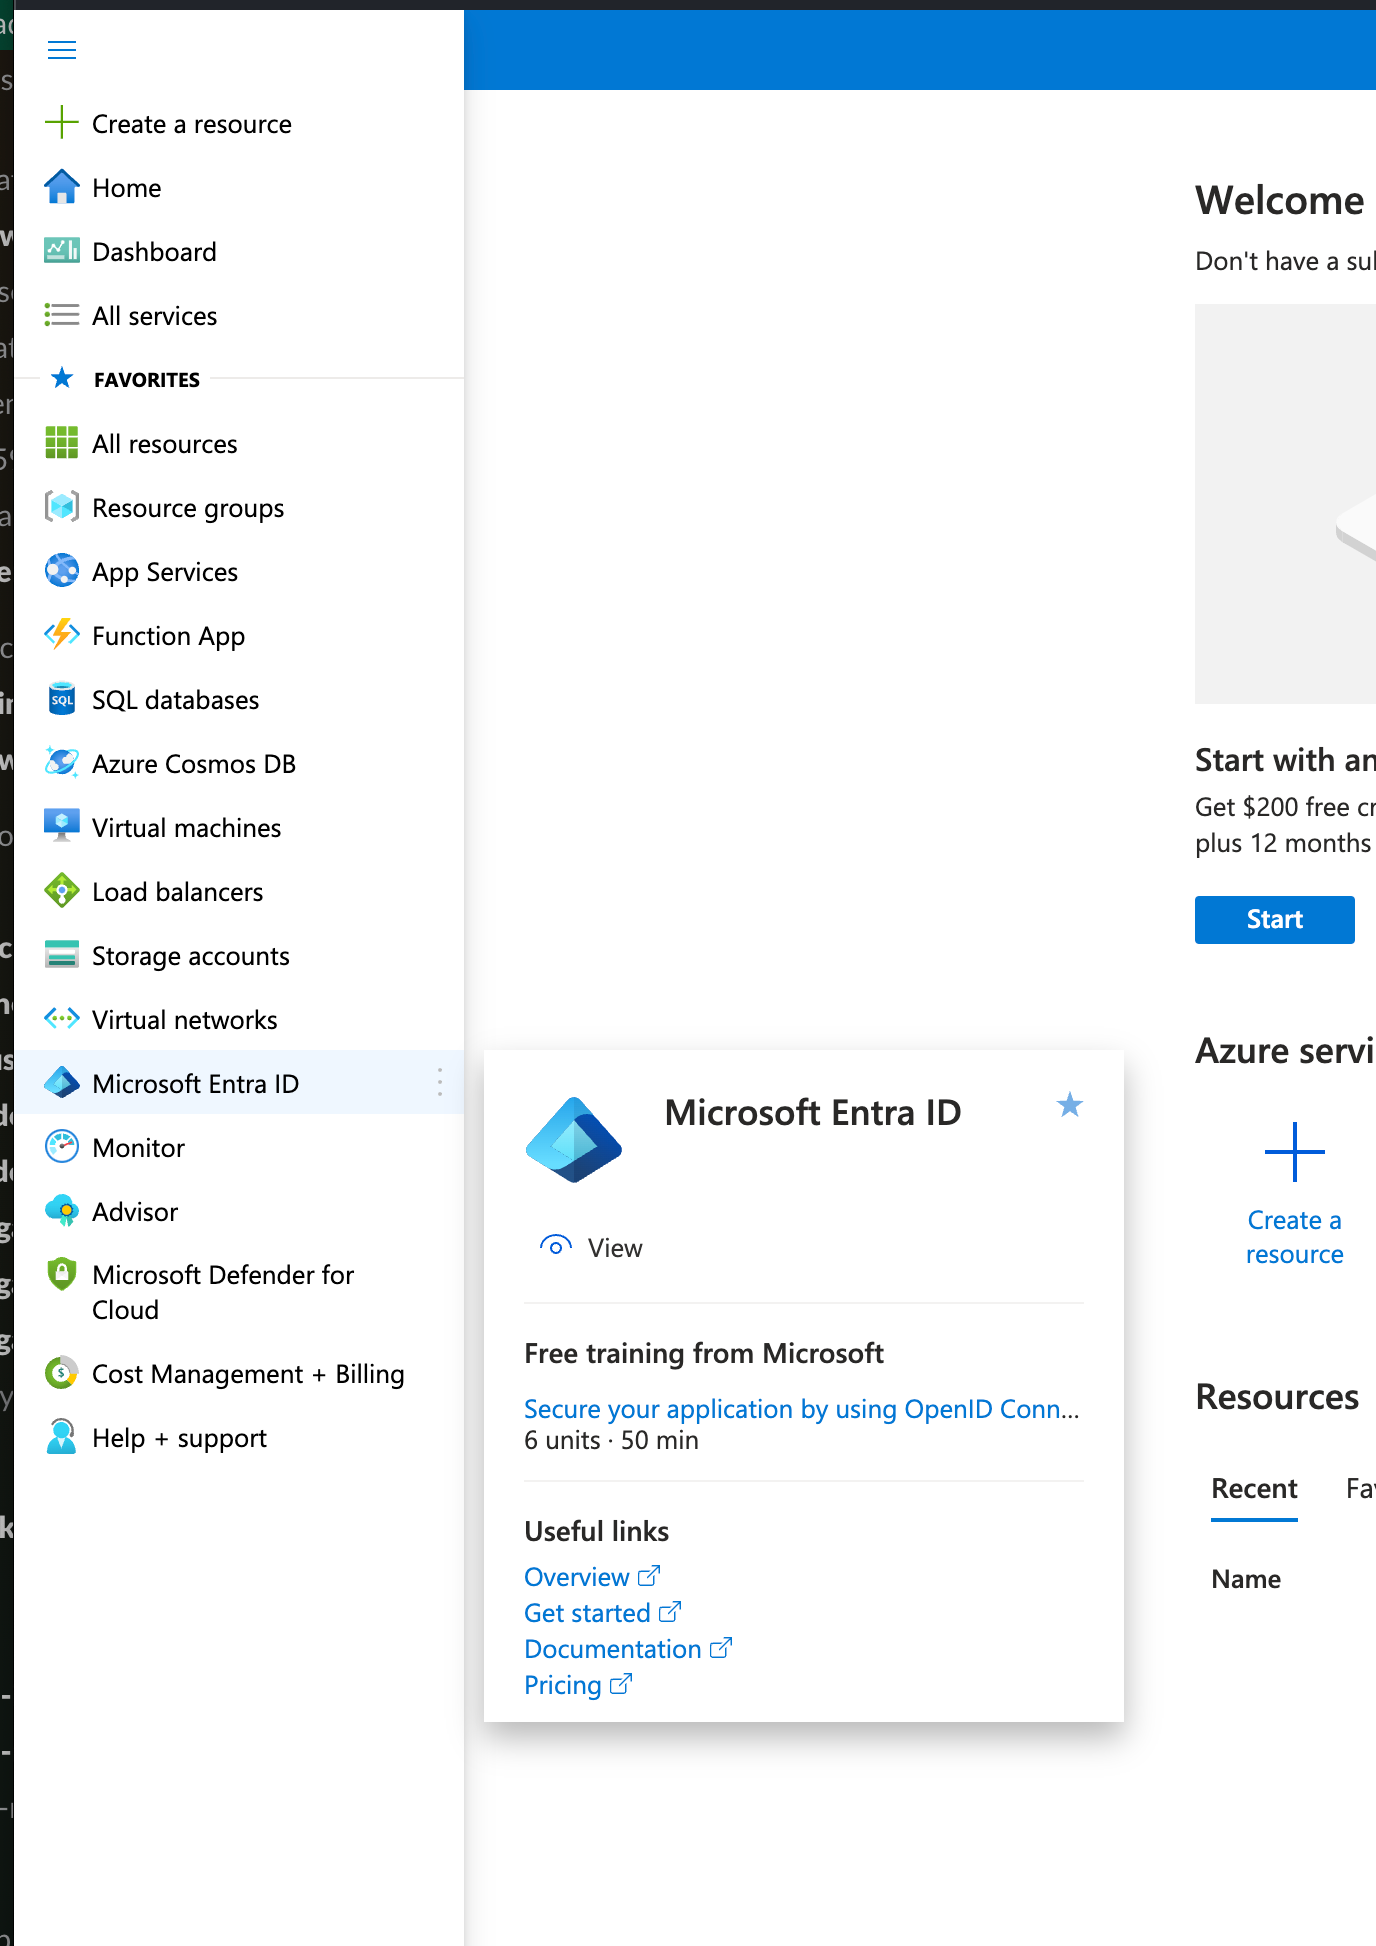
Navigate to Microsoft Entra ID
-
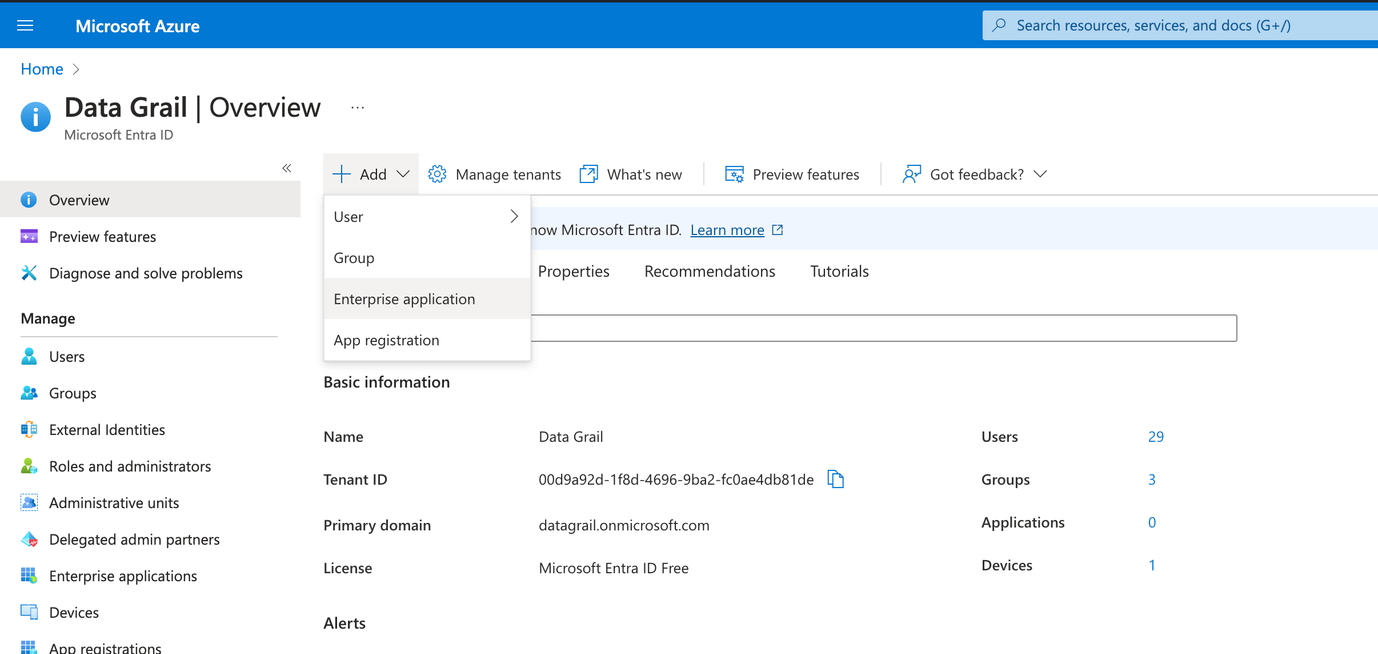
Add a new Enterprise Application
-
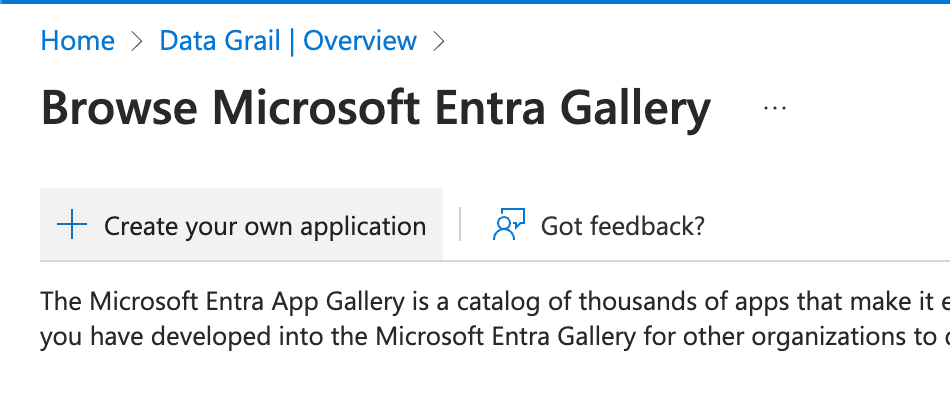
Choose Create your own application
-
Enter DataGrail for the application name and click Create at the bottom of the pane

-
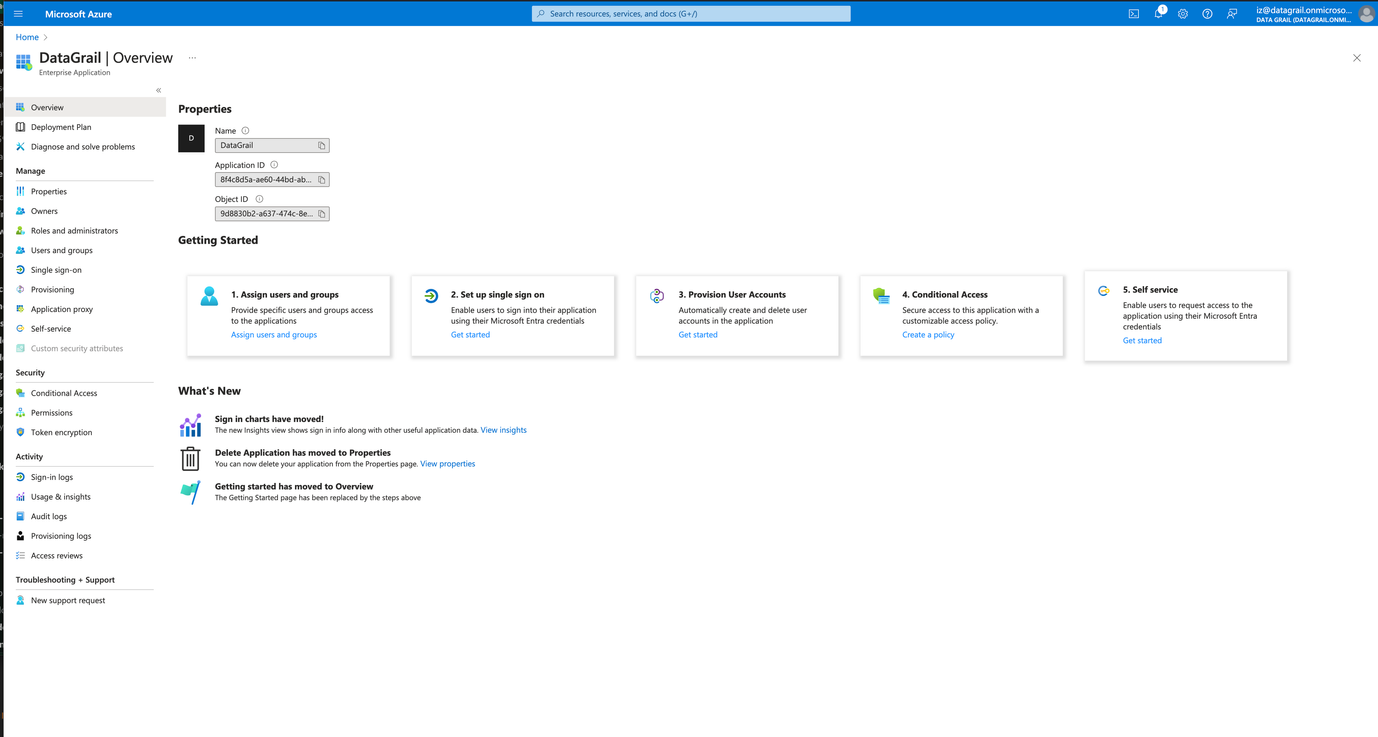
You will see the home page for the new App
Assign Owner and Users
Under User and Groups:
-
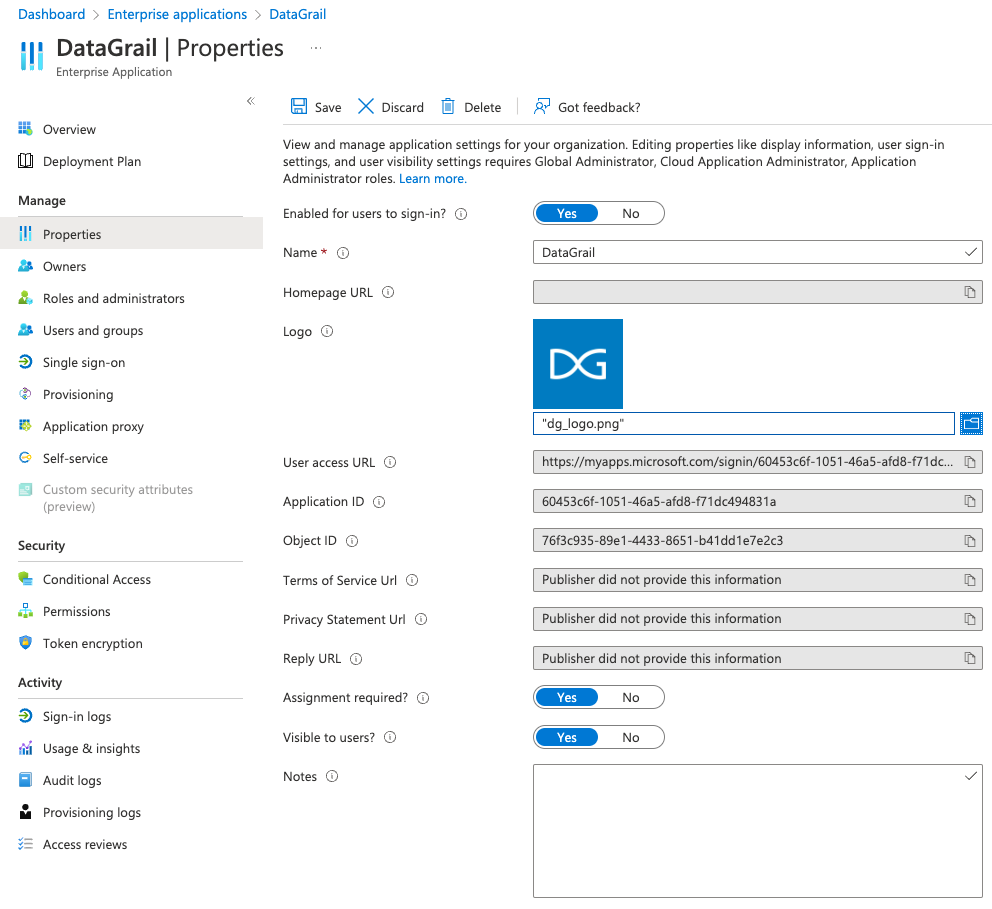
Click Properties under the newly created application
-
Download DG Logo [attached in email]
-
For the logo, set the image downloaded above
-
Click the 💾Save button
-
-
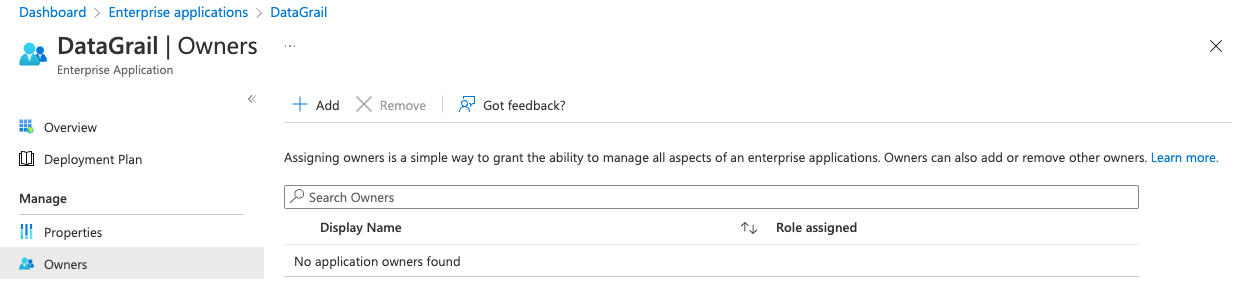
Select Owners
-
Click + Add button, search your name and any owners of this app
-
Click Select to add owners
-
-
Select Users
-
Click + Add user button
-
Search and select users that need access to DataGrail
-
Click Select
-
Click Assign
-
Configure SAML settings
-
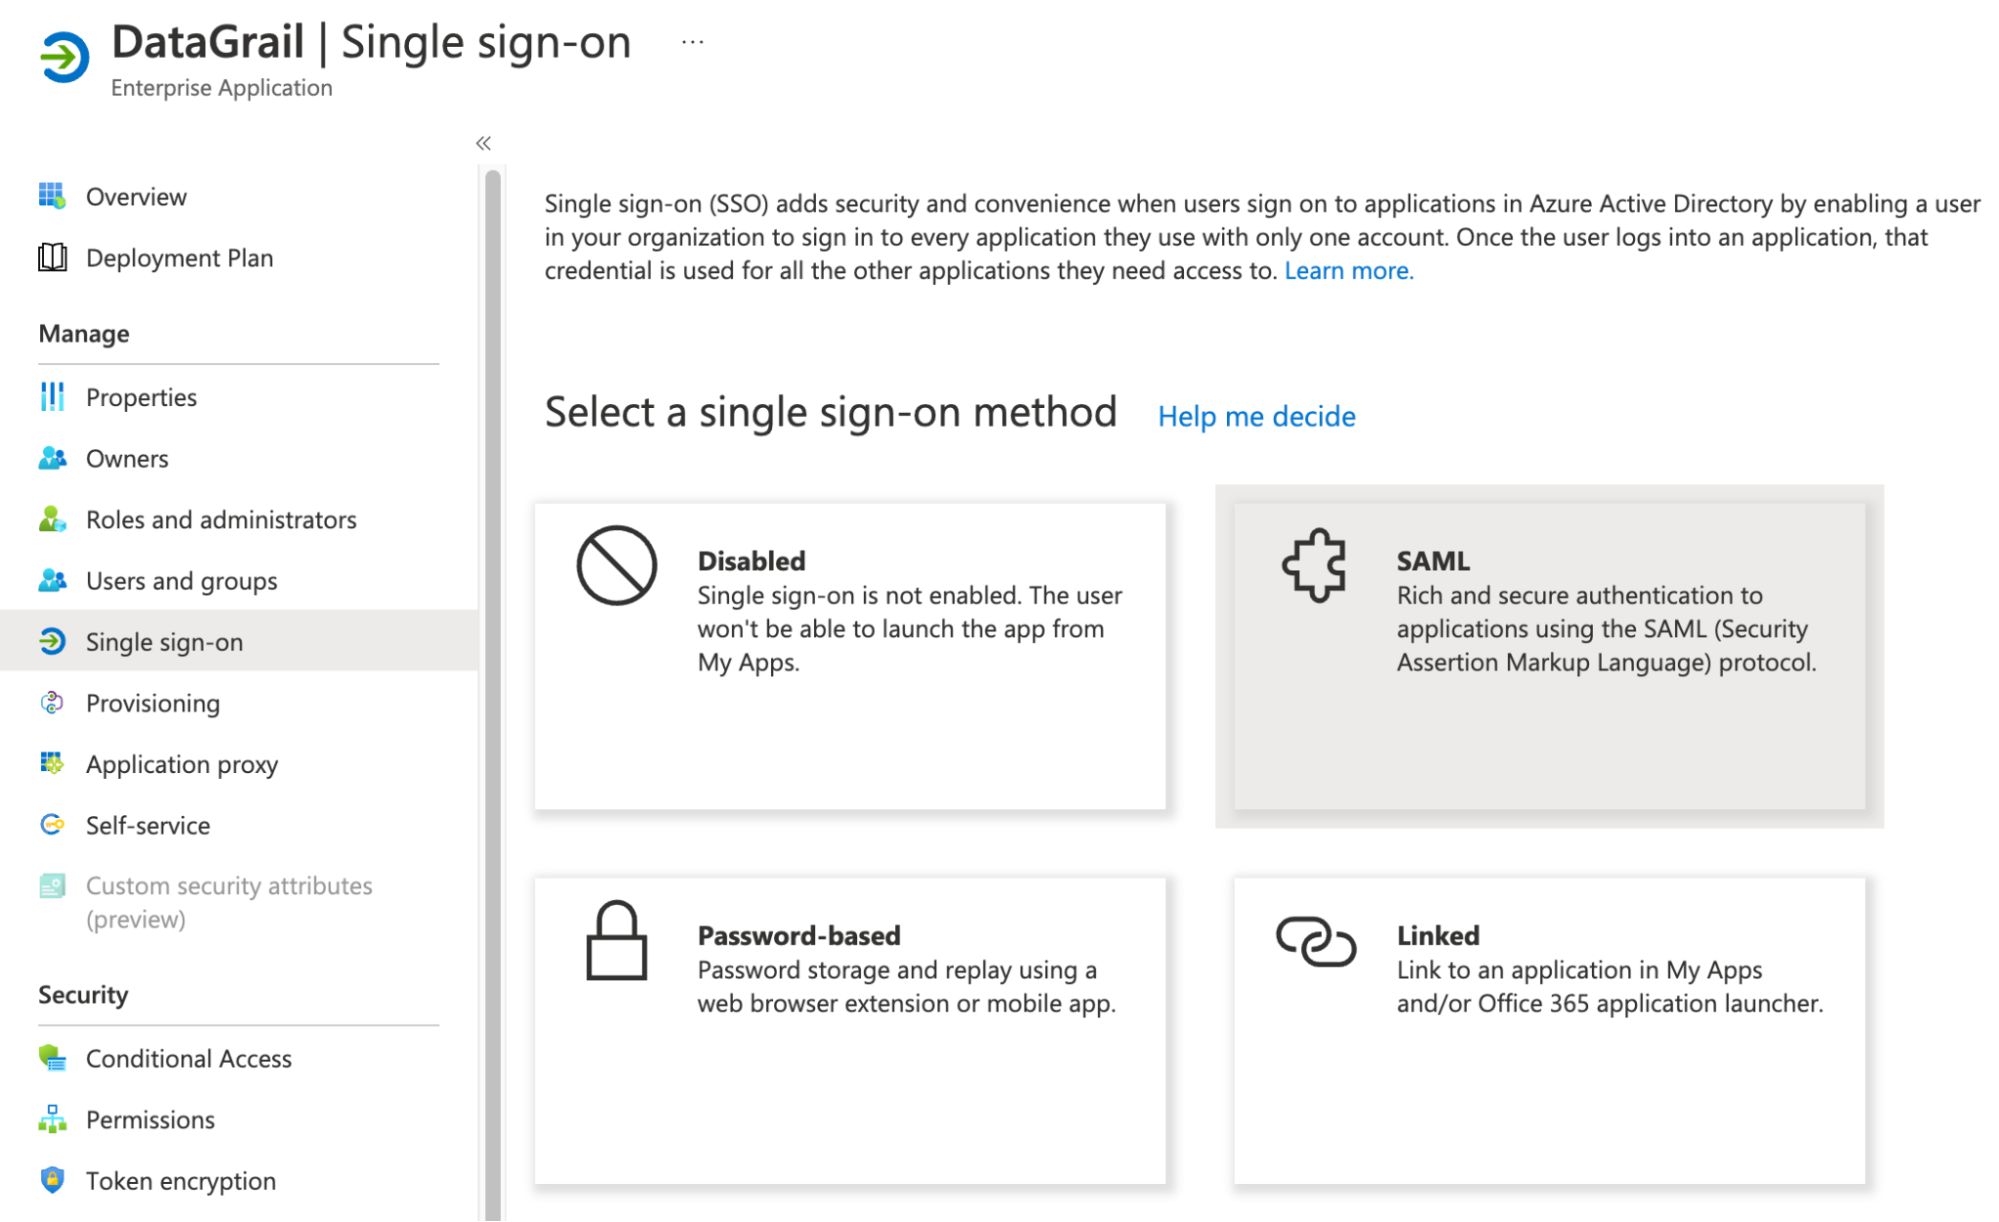
Select Single sign-on
-
Choose SAML
-
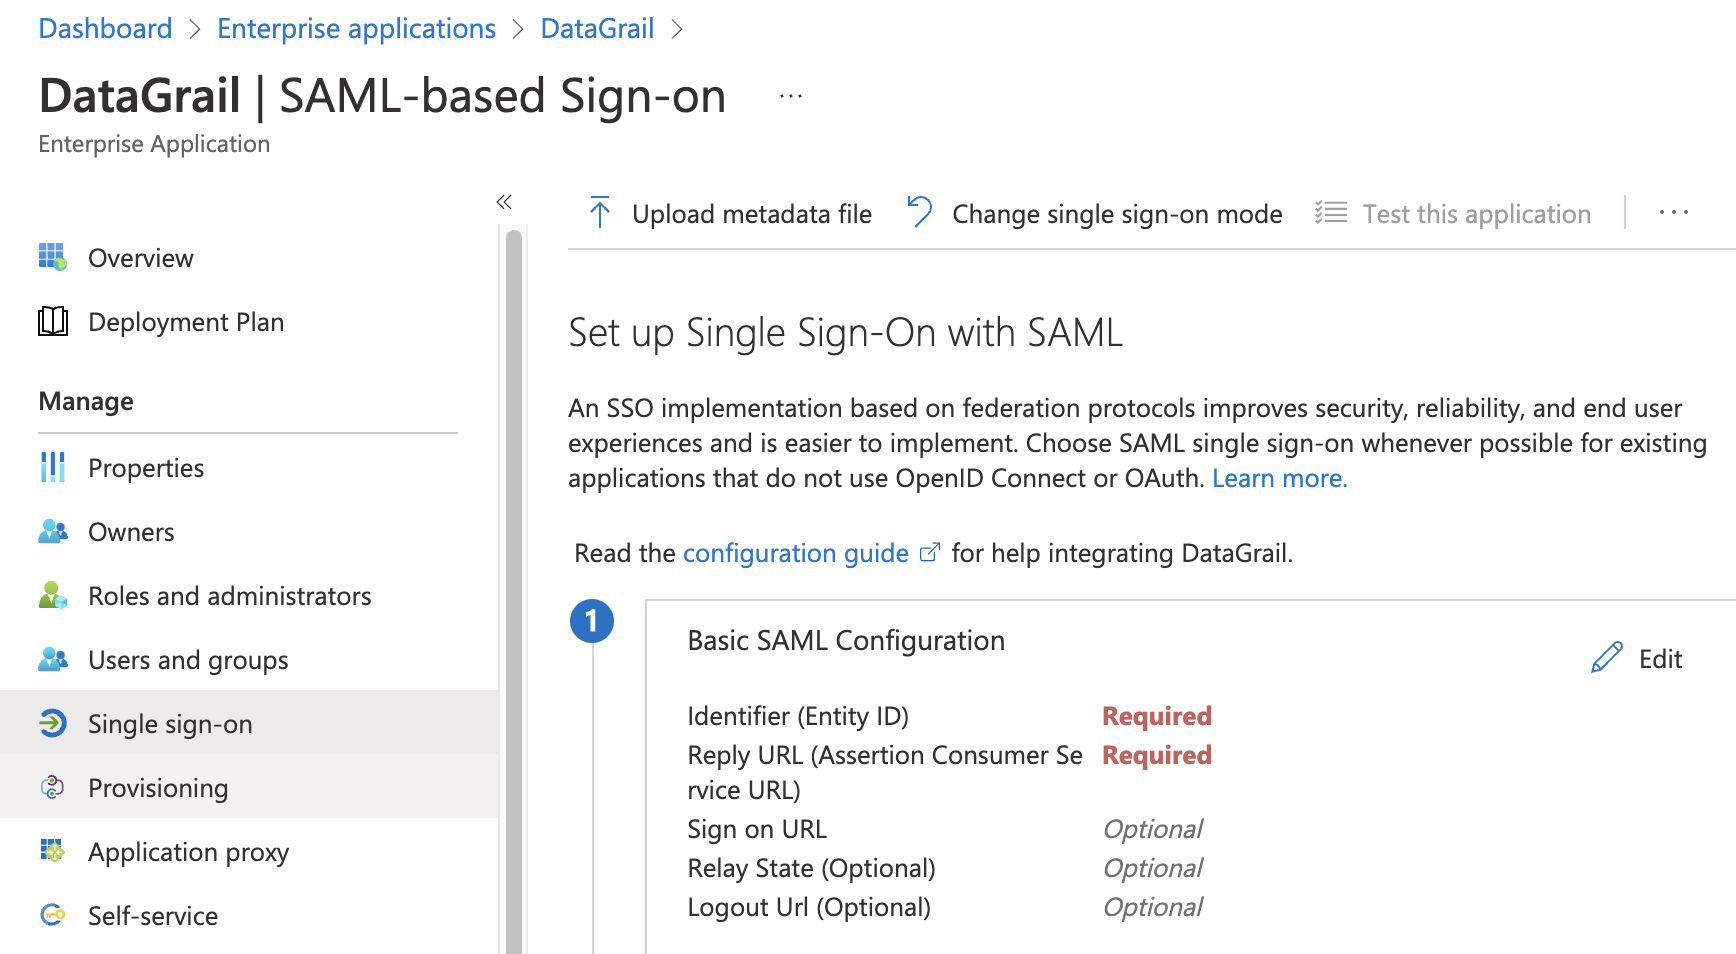
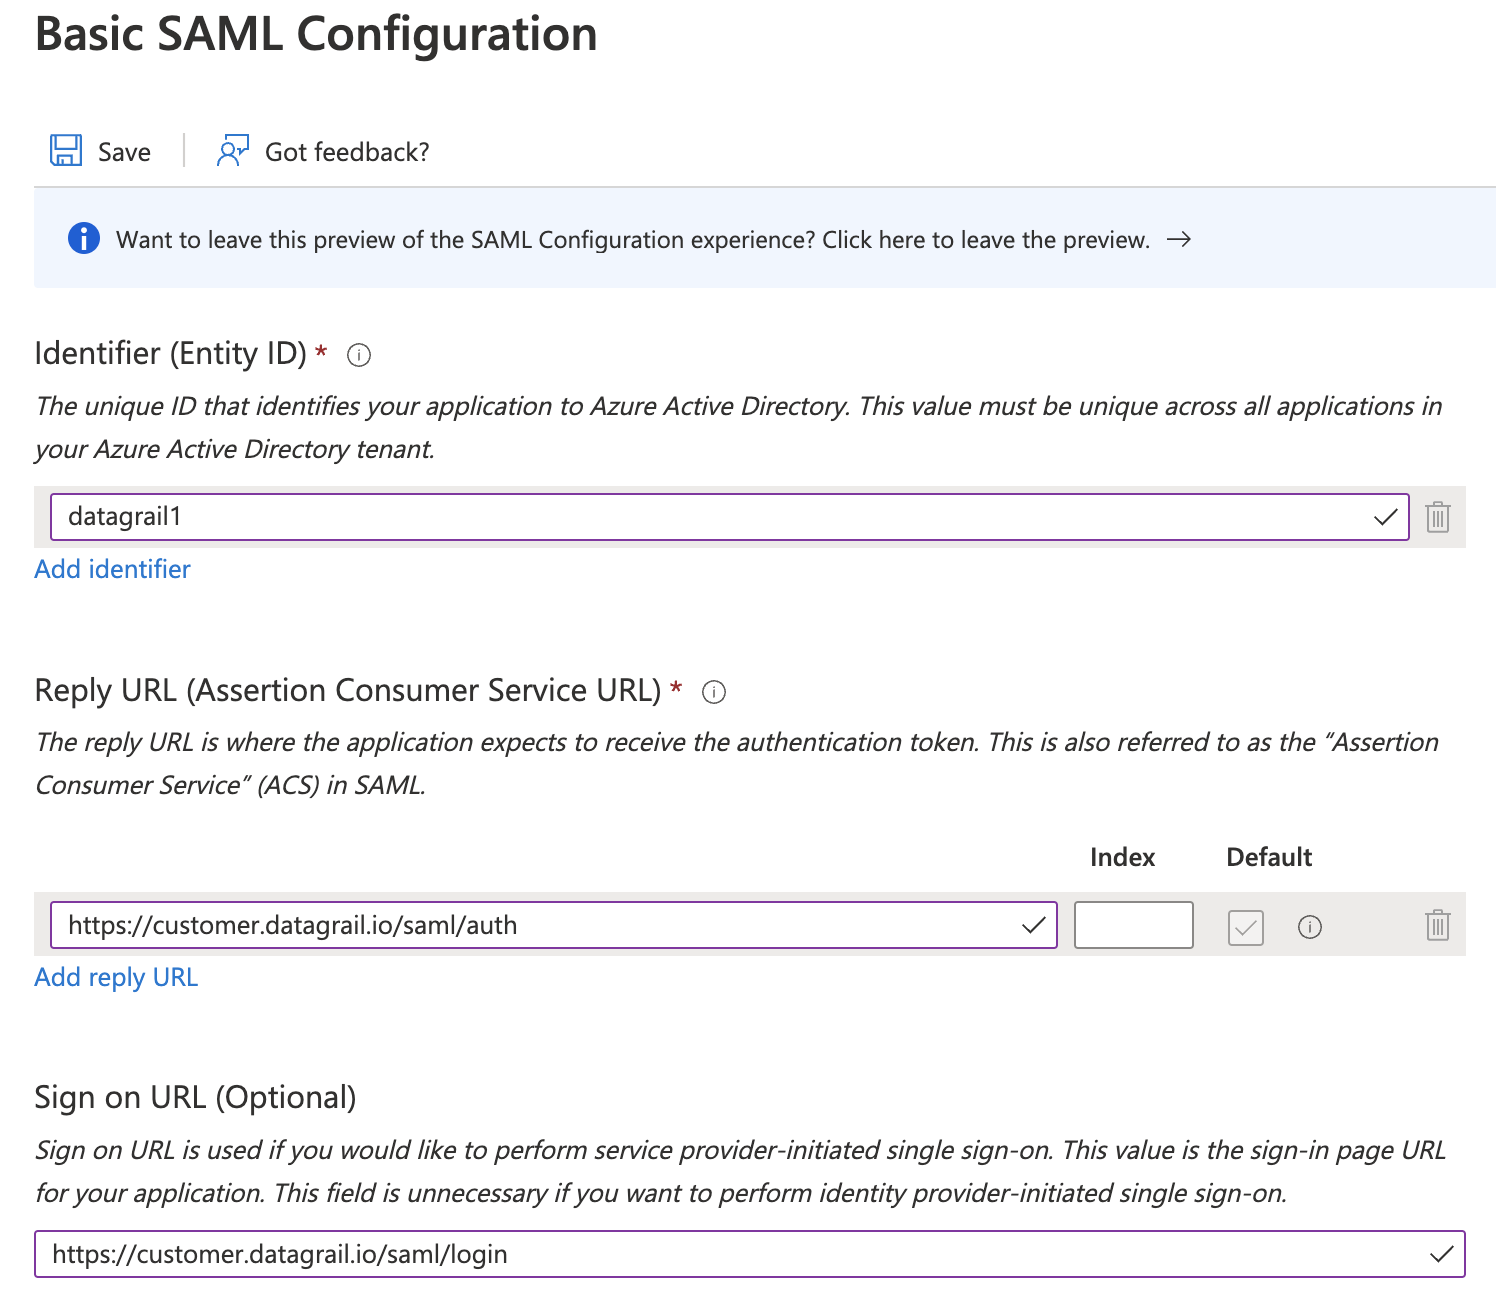
Under (1) - Basic SAML Configuration, click the Edit (pencil) button, set:
-
Identifier (Entity ID): datagrail (Note: it’s important that it’s all lower case)
-
Reply URL:
https://{yourdomainhere}.datagrail.io/saml/auth- Example: if DataGrail was installing this saml solution to host our own platform login, the above url would be https://datagraildemo.datagrail.io/saml/auth
-
Sign on URL:
https://{yourdomainhere}.datagrail.io/saml/login- Example: if DataGrail was installing this saml solution to host our own platform login, the above url would be https://datagraildemo.datagrail.io/saml/login
-
(Everything else is blank)
-
Click the 💾Save button
-
-
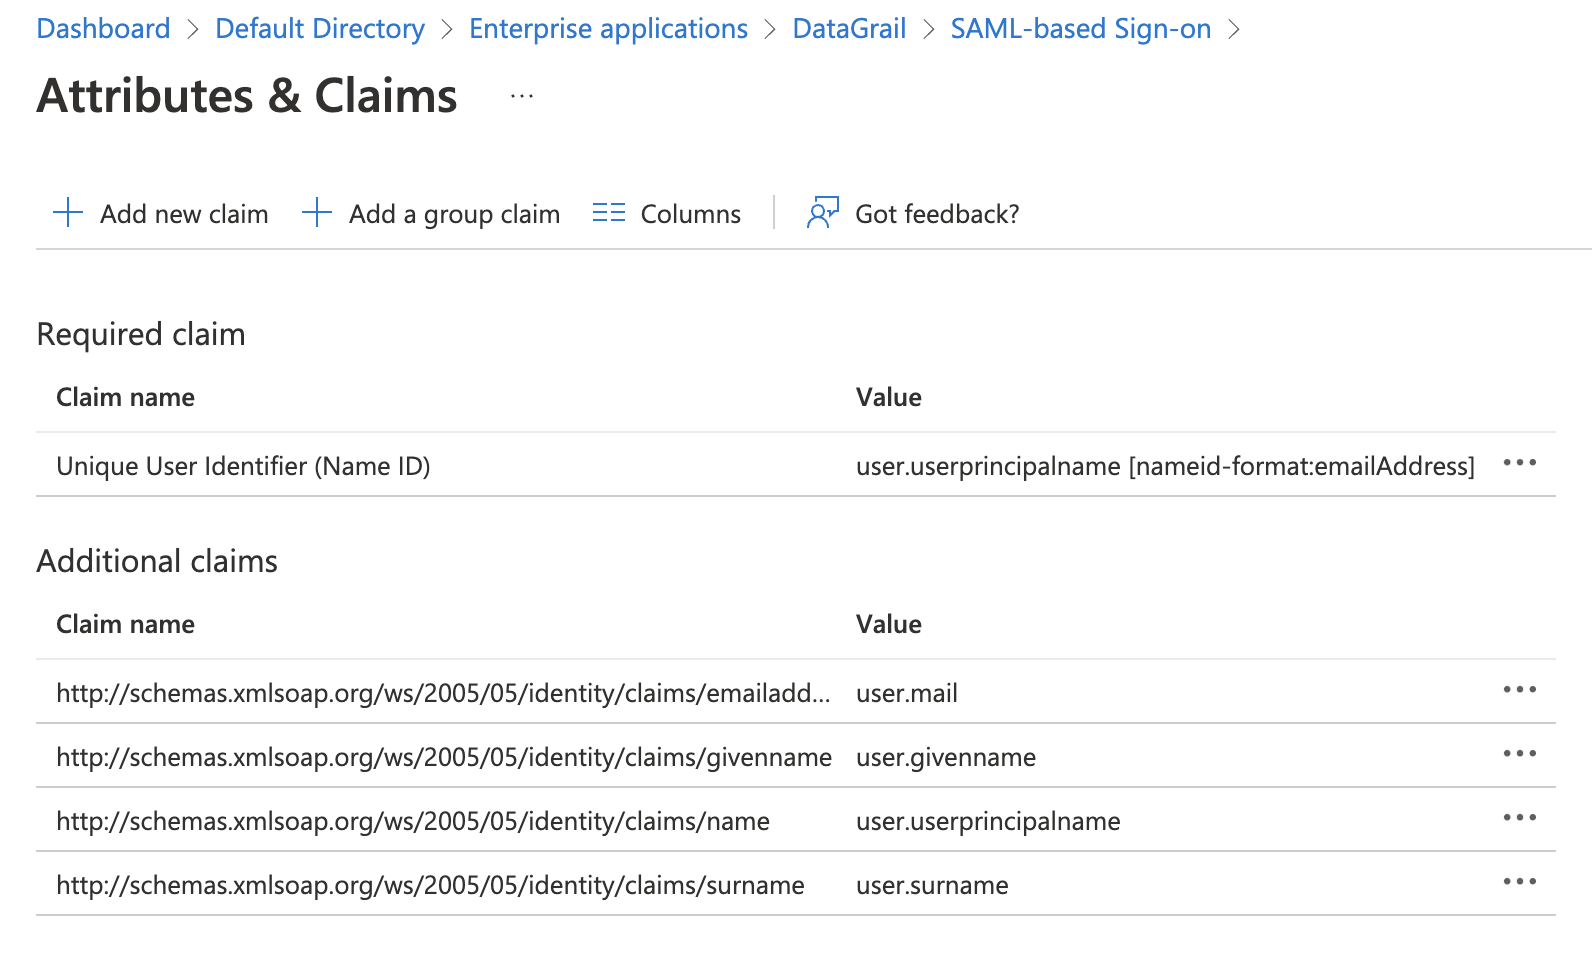
Under (2) - User Attributes & Claims:
-
Click Add new claim, and set
-
Name: email
-
Source: Attribute
-
Source attribute: user.mail
-
Click 💾Save button
-
-
Click Add new claim, and set
-
Name: first_name
-
Source: Attribute
-
Source attribute: user.givenname
-
Click 💾Save button
-
-
Click Add new claim, and set
-
Name: last_name
-
Source: Attribute
-
Source attribute: user.surname
-
Click 💾Save button
-
-
Optional: remove all other attributes
-
Sharing the Metadata URL
Under (3) - SAML Signing Certificate:
-
Click the Copy button next to App Federation Metadata Url
-
Send this to support@datagrail.io
**Disclaimer: The information contained in this message does not constitute as legal advice. We would advise seeking professional counsel before acting on or interpreting any material.