SSO for Direct Contact
Within the DataGrail Platform, Direct Contact (email based) integrations can be configured to require Single Sign On, and additionally require the user to have a Permission Group.
Users will have Permission Groups assigned via the Identity Provider (IdP), e.g. Okta. Setting this will require configuration in the IdP; example configuration is provided for Okta.
Okta Setup
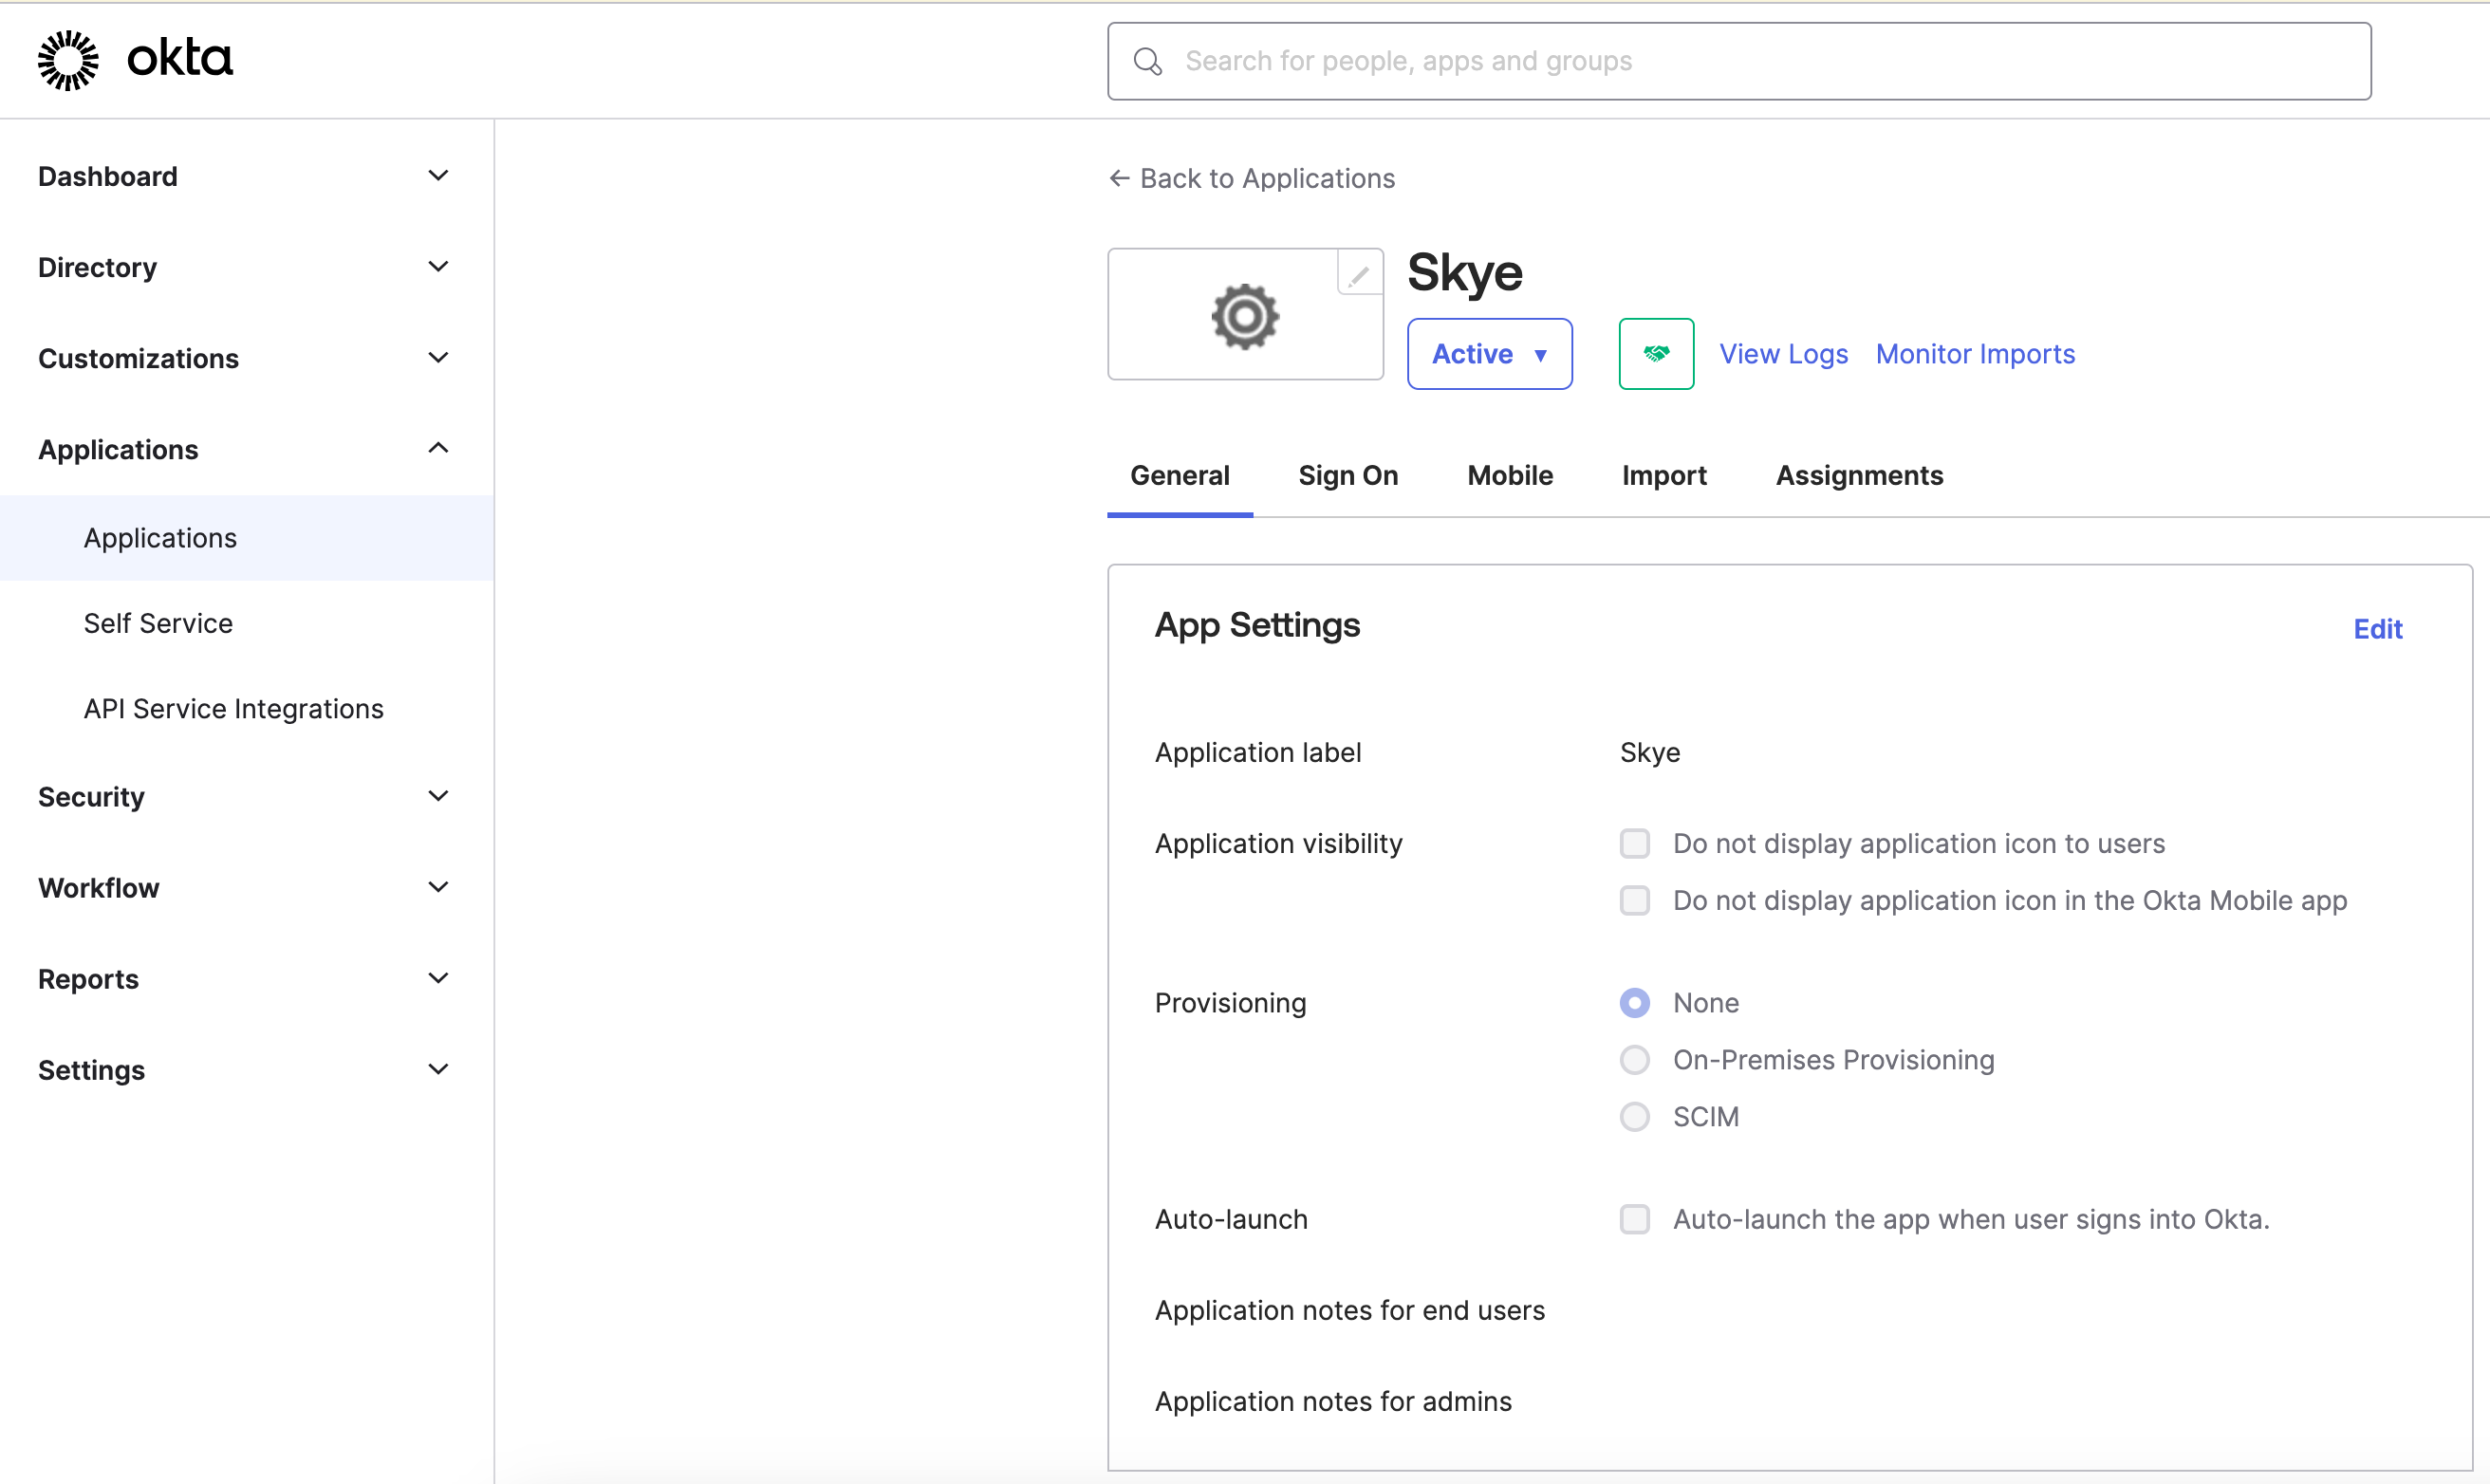
Step 1: Select Applications > Applications in the Okta navigation bar on the left hand side of the screen. Select the DataGrail application.
Step 2: Select General from the tabs at the top of the application
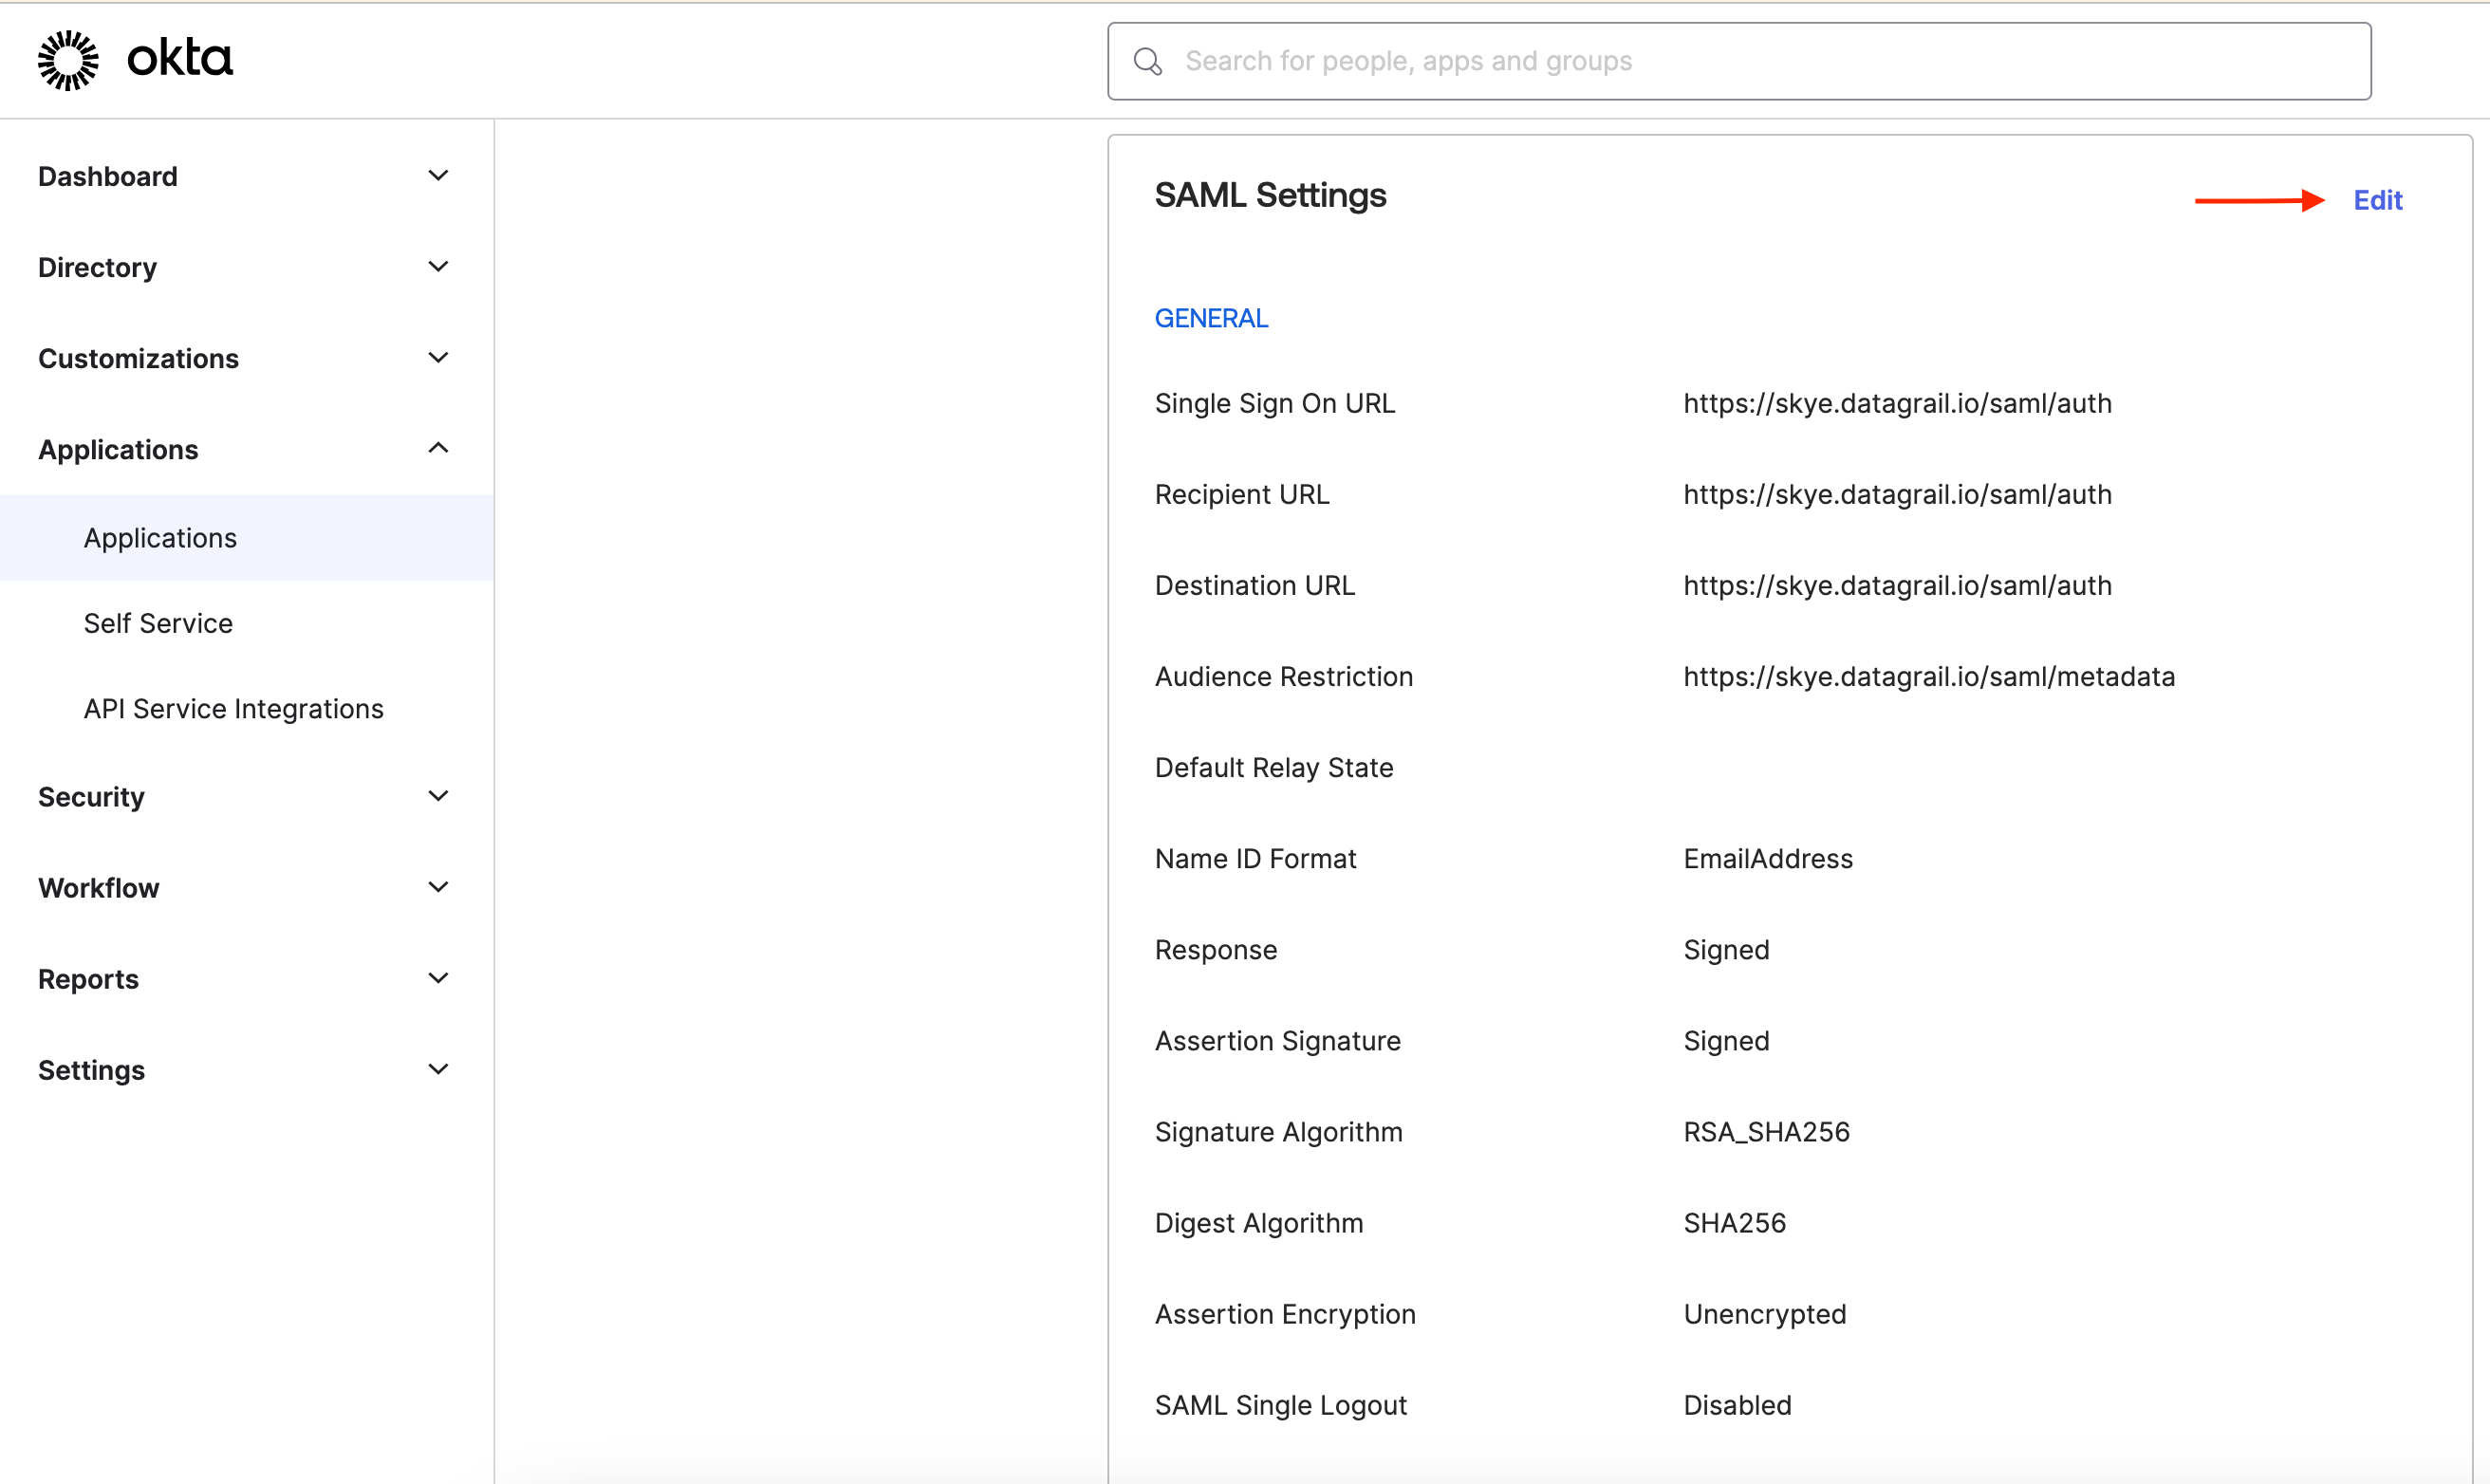
Step 3: Select the Edit link in the upper-right-hand corner of the SAML Settings subsection.
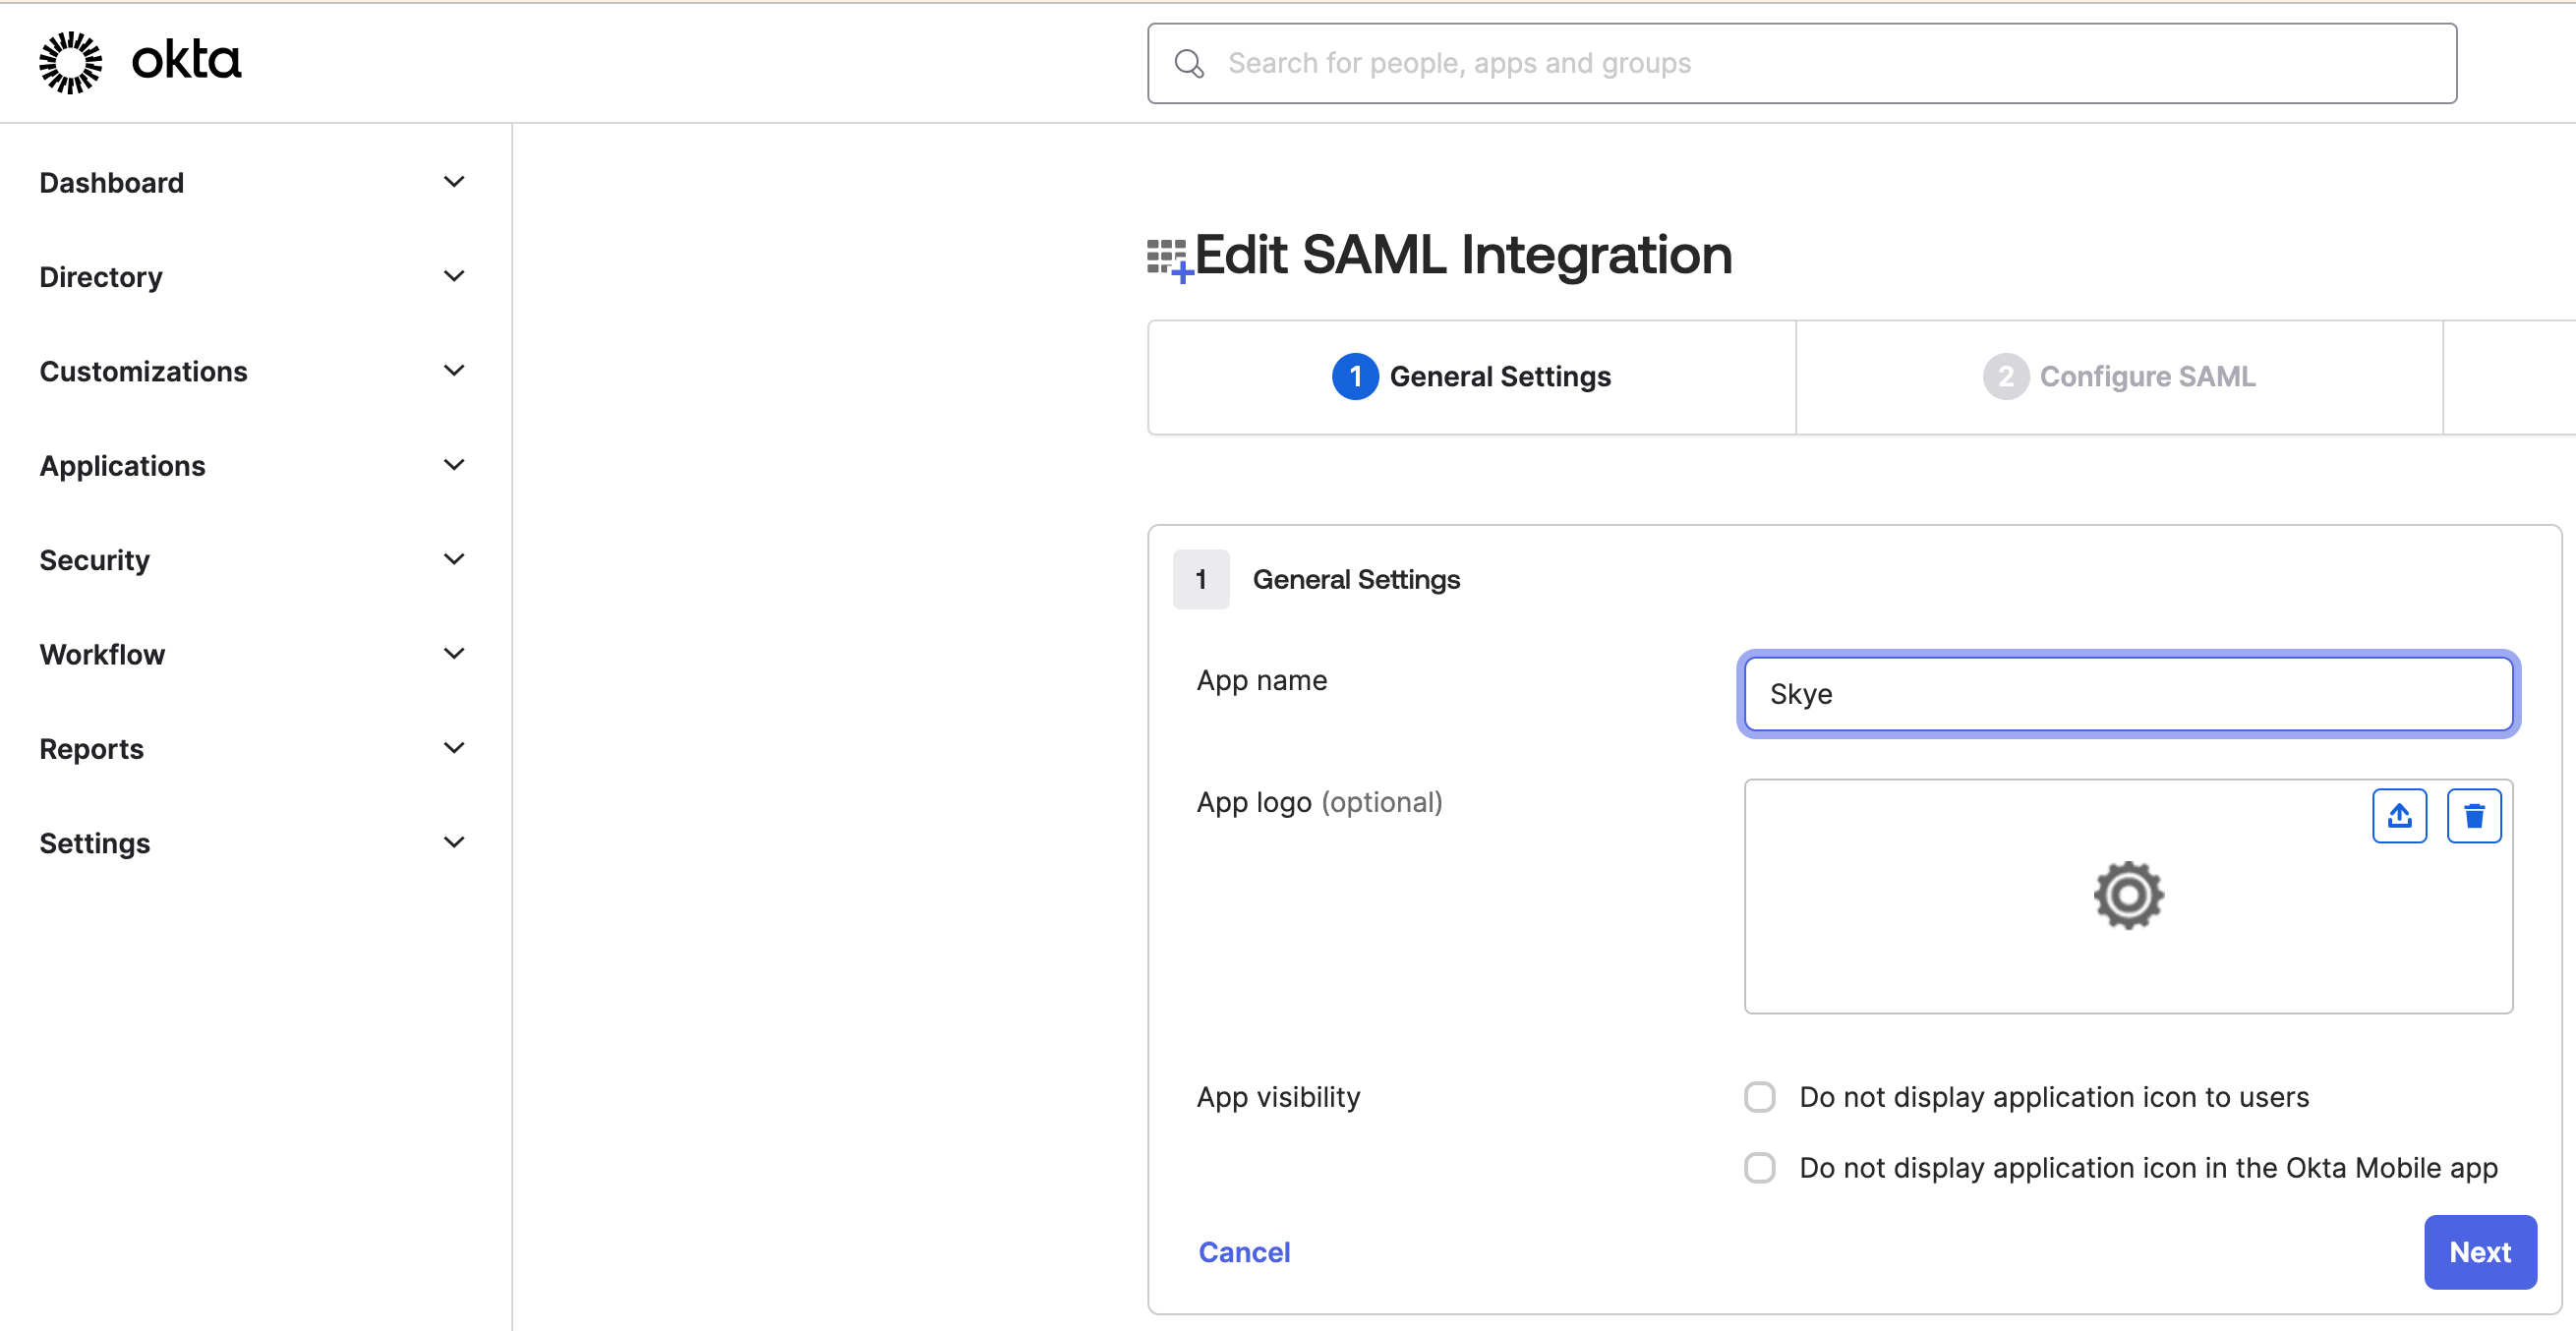
Step 4: Click Next in the lower-right-hand corner
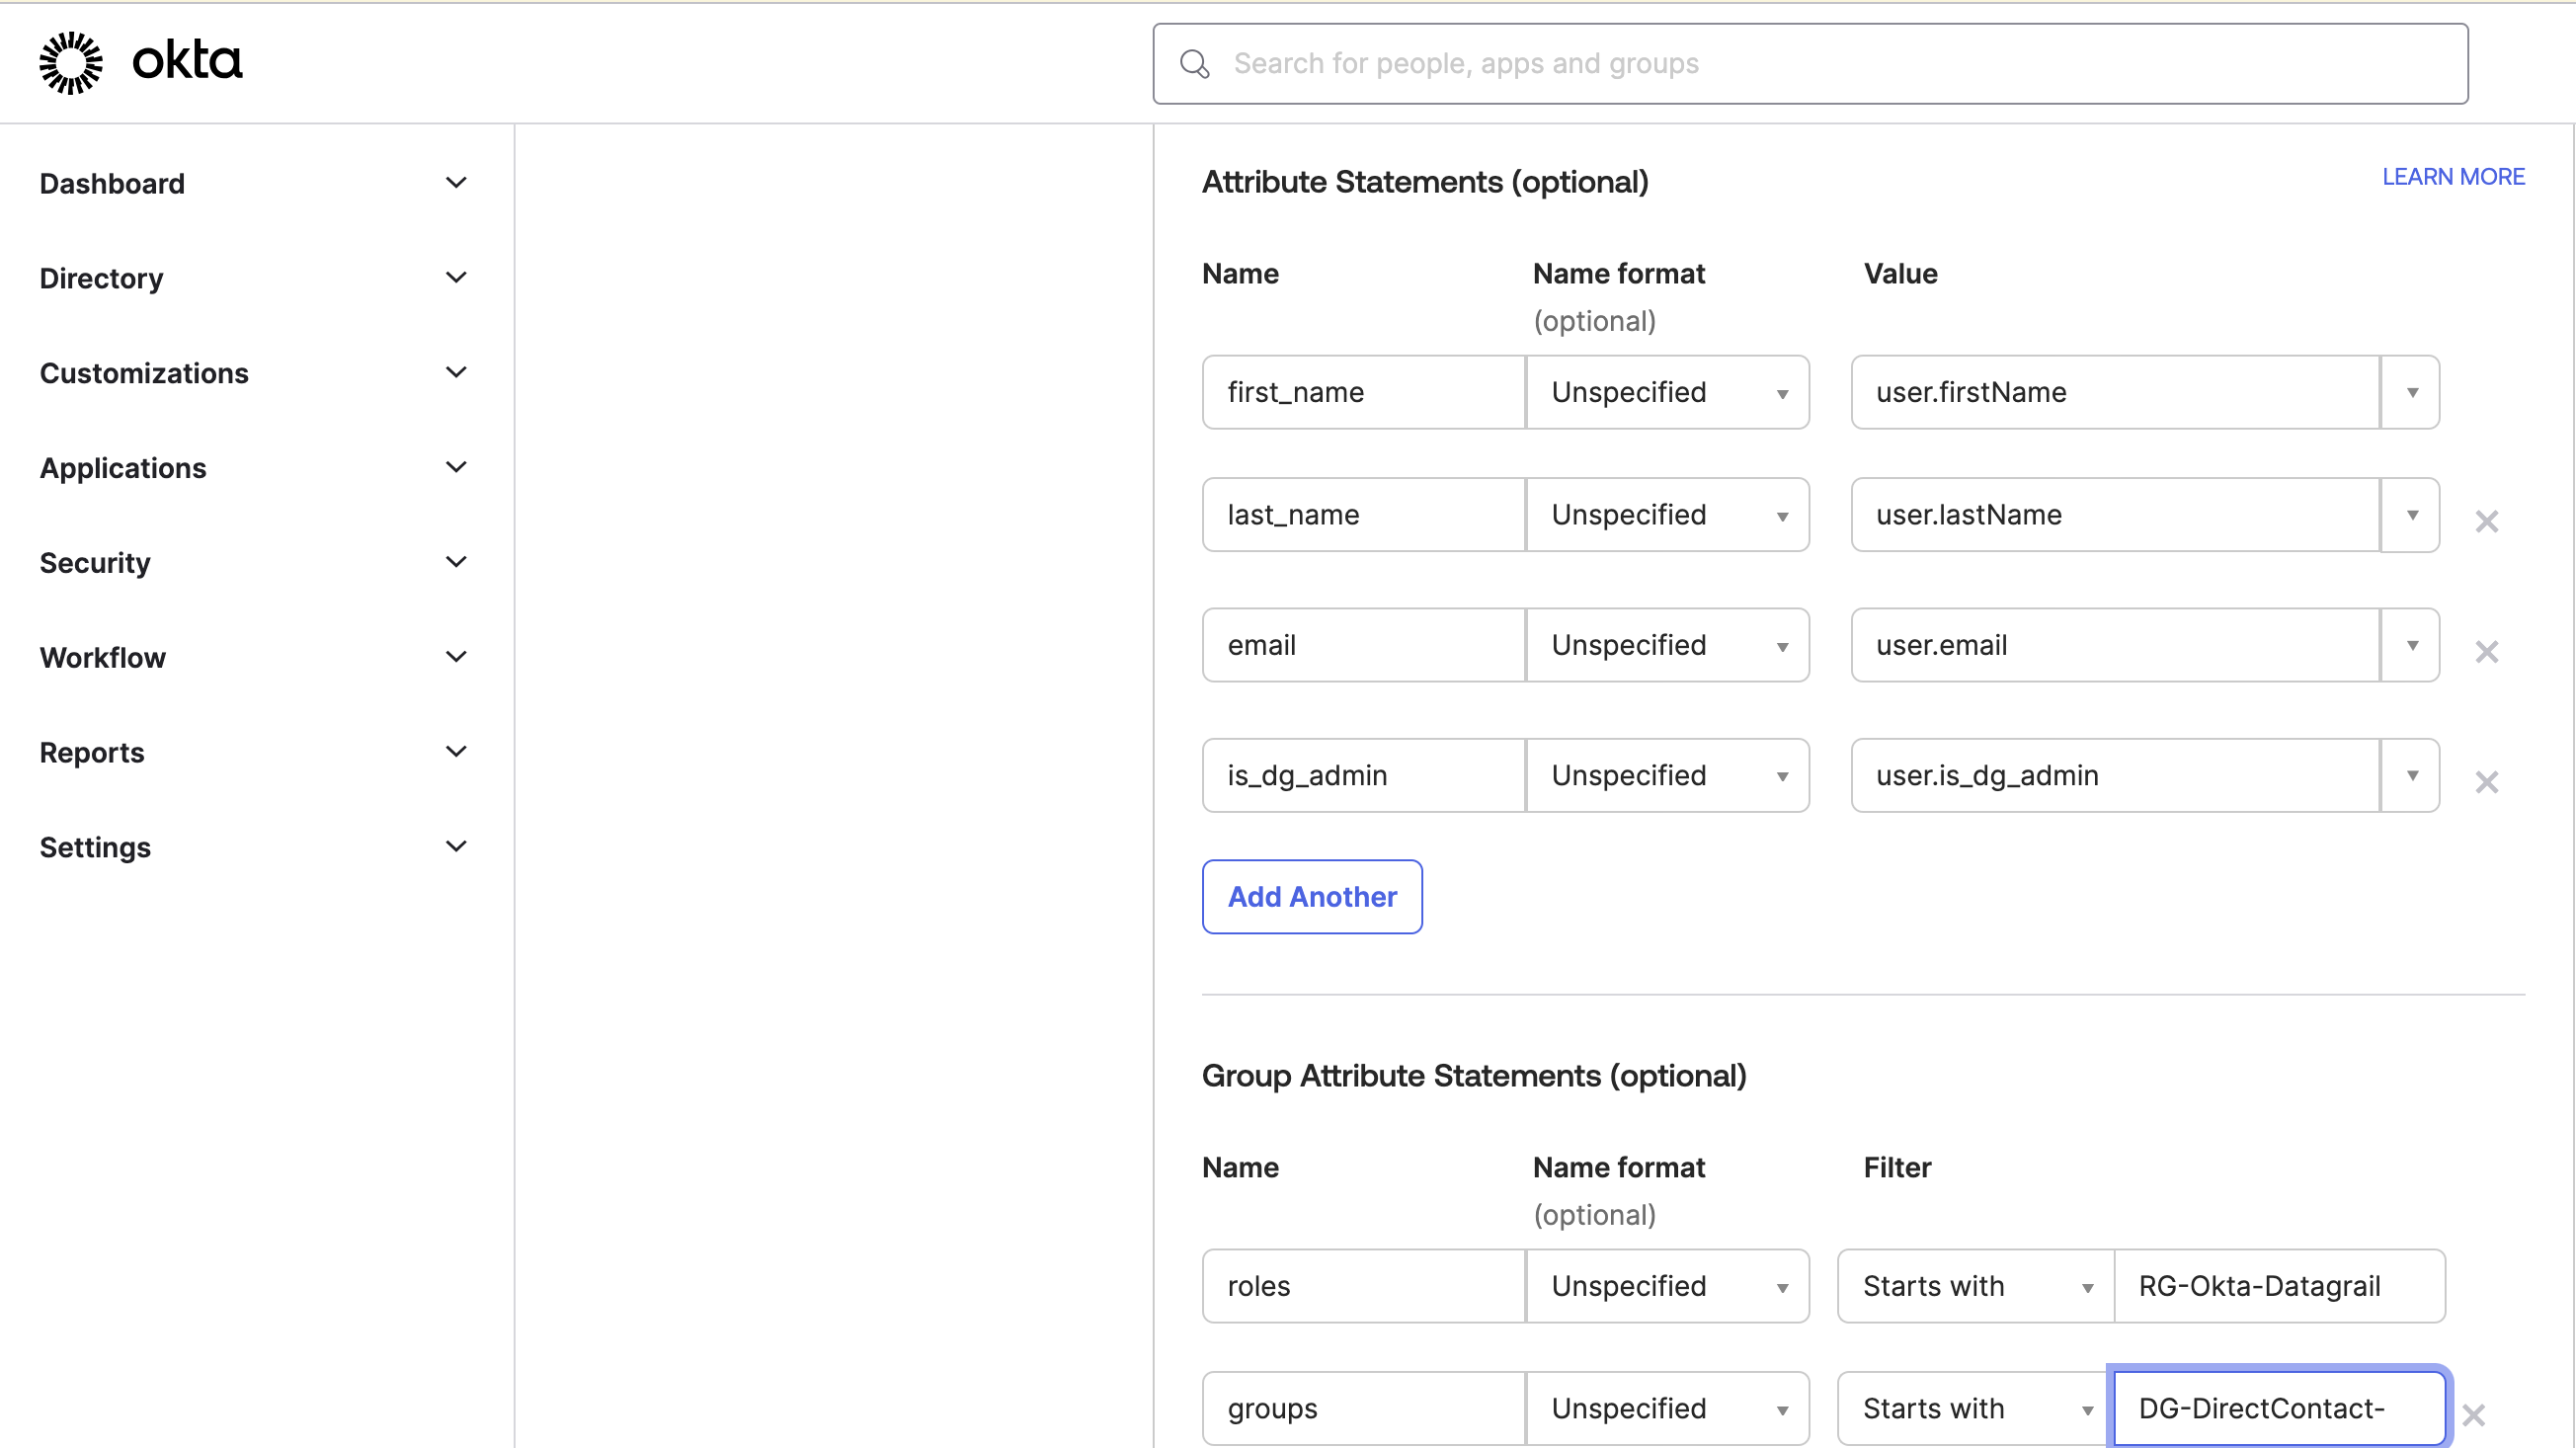
Step 5: Click Add Another to the Group Attribute Statements
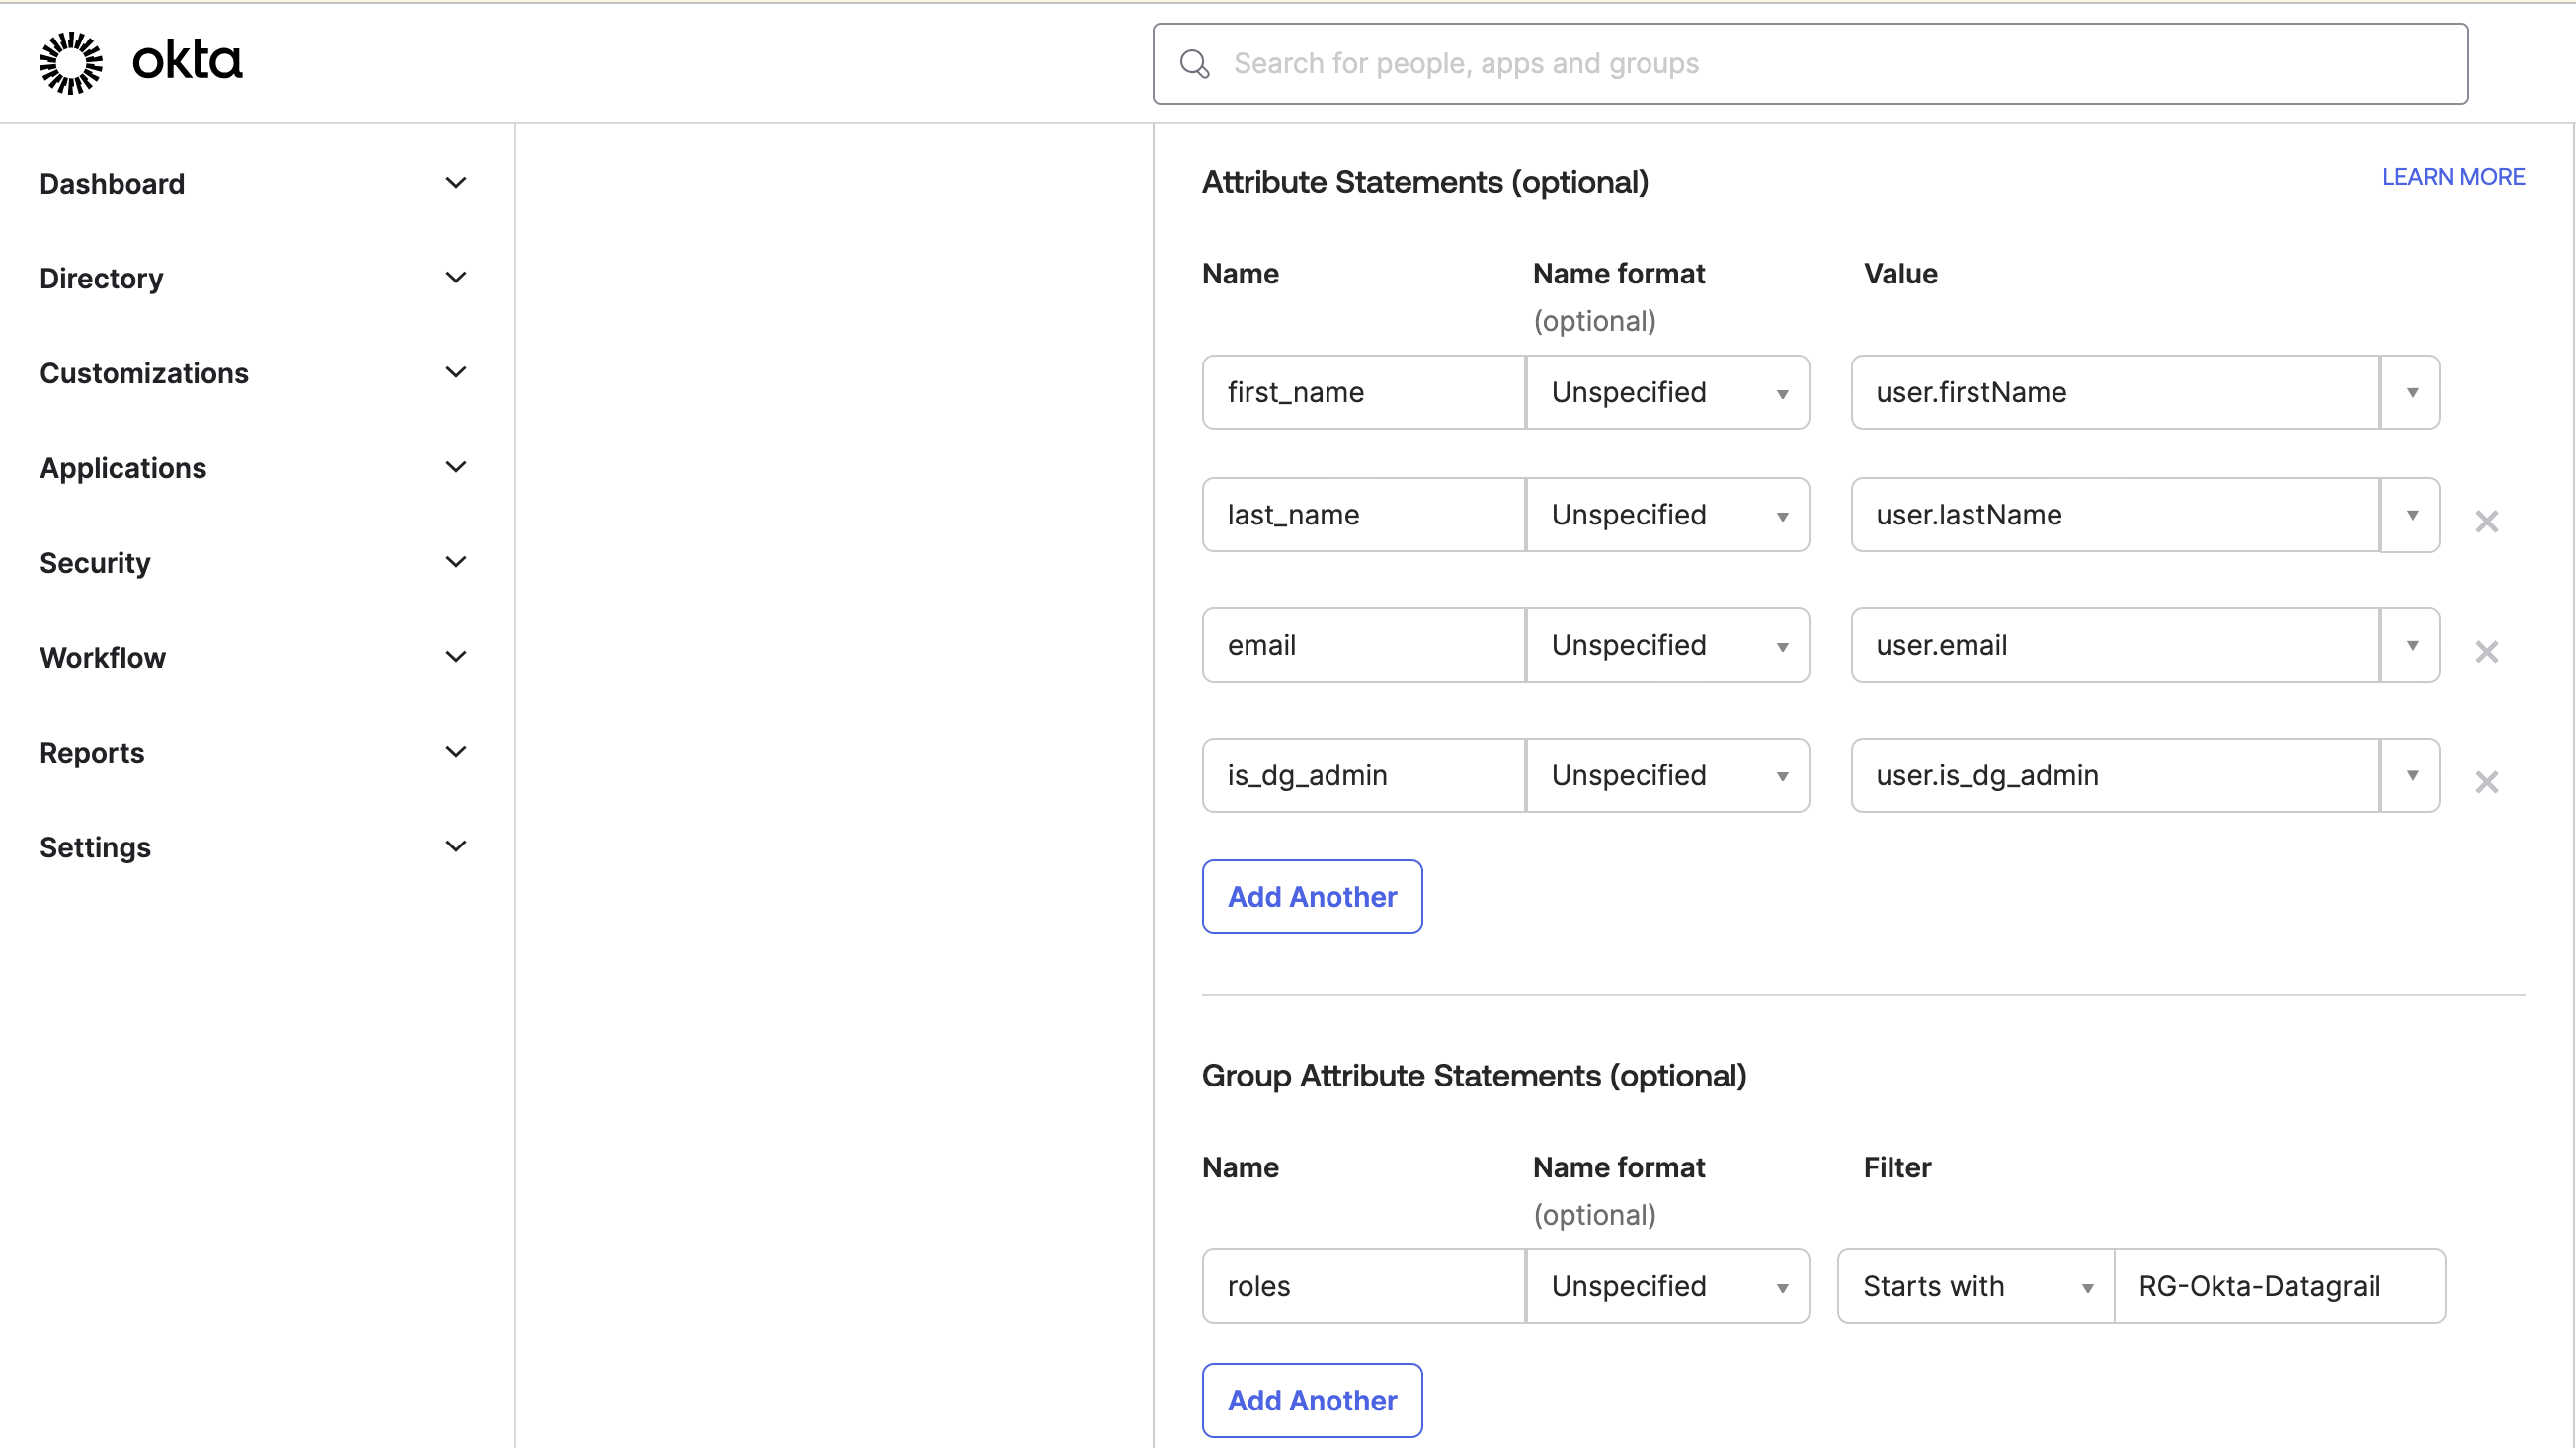
Step 6: Enter groups as the Name, and select a proper Filter. In this case, we will include any groups that:
- Start with the string DG-DirectContact-
- The user belongs to the group
Example 1:
- Groups
DG-DirectContact-SalesforceUploaders,DG-DirectContact-MarketoUploaders,DG-DirectContact-InternalDBUploadersexist - The user belongs to the
DG-DirectContact-SalesforceUploadersgroup - The user will be provisioned the
DG-DirectContact-SalesforceUploadersPermission Group
Example 2:
- Groups
DG-DirectContact-SalesforceUploaders,DG-DirectContact-MarketoUploaders,DG-DirectContact-InternalDBUploadersexist - The user belongs to the
DG-DirectContact-SalesforceUploadersandDG-DirectContact-InternalDBUploadersgroups - The user will be provisioned the
DG-DirectContact-SalesforceUploadersandDG-DirectContact-InternalDBUploadersPermission Groups
Note: you can use any group names you wish; they will be auto-provisioned in your DataGrail instance, and become automatically available as a configuration option in the Integration Direct Contact view
Step 7: Save the Application
Step 8: Configure groups and assign users to them
Disclaimer: The information contained in this message does not constitute as legal advice. We would advise seeking professional counsel before acting on or interpreting any material.